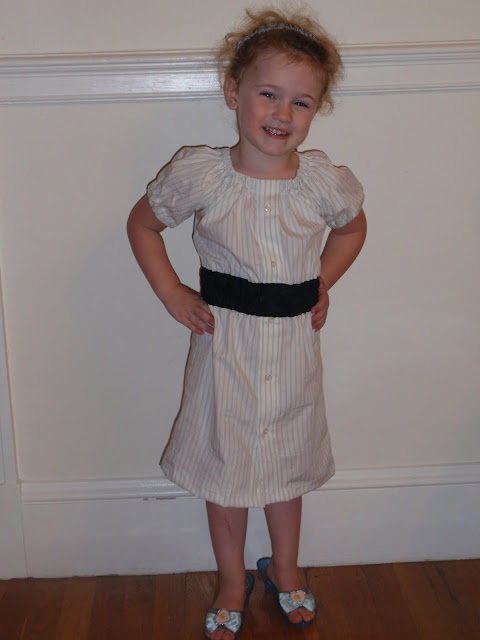
I have been dying to try this dress shirt repurposing – and when my husband gave me a stack of dress shirts to give away – I snagged them for my project!
I followed this tutorial, and I am very pleased with the result.
Although the tutorial is very thorough, I am posting a few of my own pictures, particularly where I felt hers were lacking.
First, when I made my pattern on a scrap of fabric, I had a very hard time duplicating her measurements. Her drawings are not really to scale, and my patterns, although measuring the same, looked very different.
I started with another one of my daughter's dresses, and decided that I wanted some of my measurements to be a little larger than the ones in the tutorial.
One measurement I wish I had had was across the widest part, from bottom of arm to bottom of arm. I estimated about 18”, and that helped me calculate the rest of the measurements.
18” (width of armpits) – 9”(width of neck) = 9”.
9”/2 = 4.5”.
A = 4.5”
We know that
B = 7”
When you have 2 sides of a triangle, and need to know the length of the 3rd side, you use:
A2 + B2 = C2
A2 = 20
B2 = 49
So, I need the square root of Approximately 20 + 49 (or 69).
The square root of 69 = approximately 8”
So, measure down from the edge of the neck by 8”, over by 4.5”, and you can connect the two by a 7” line which will be at the correct angle. Did I lose you all?! :)
Once you have it cut out, the rest of the tutorial is easy to follow.
I do not have a surger, so I used a zigzag stitch on the edges.
Here are some pictures of my casings before the elastic is put in (not the most beautiful).
But after the elastic is put in, you can’t even tell!
Here is a picture of my finished waist line:
And the finished hem:
My daughter loves wearing it, and I love that this great (very expensive) dress shirt gets more use!


