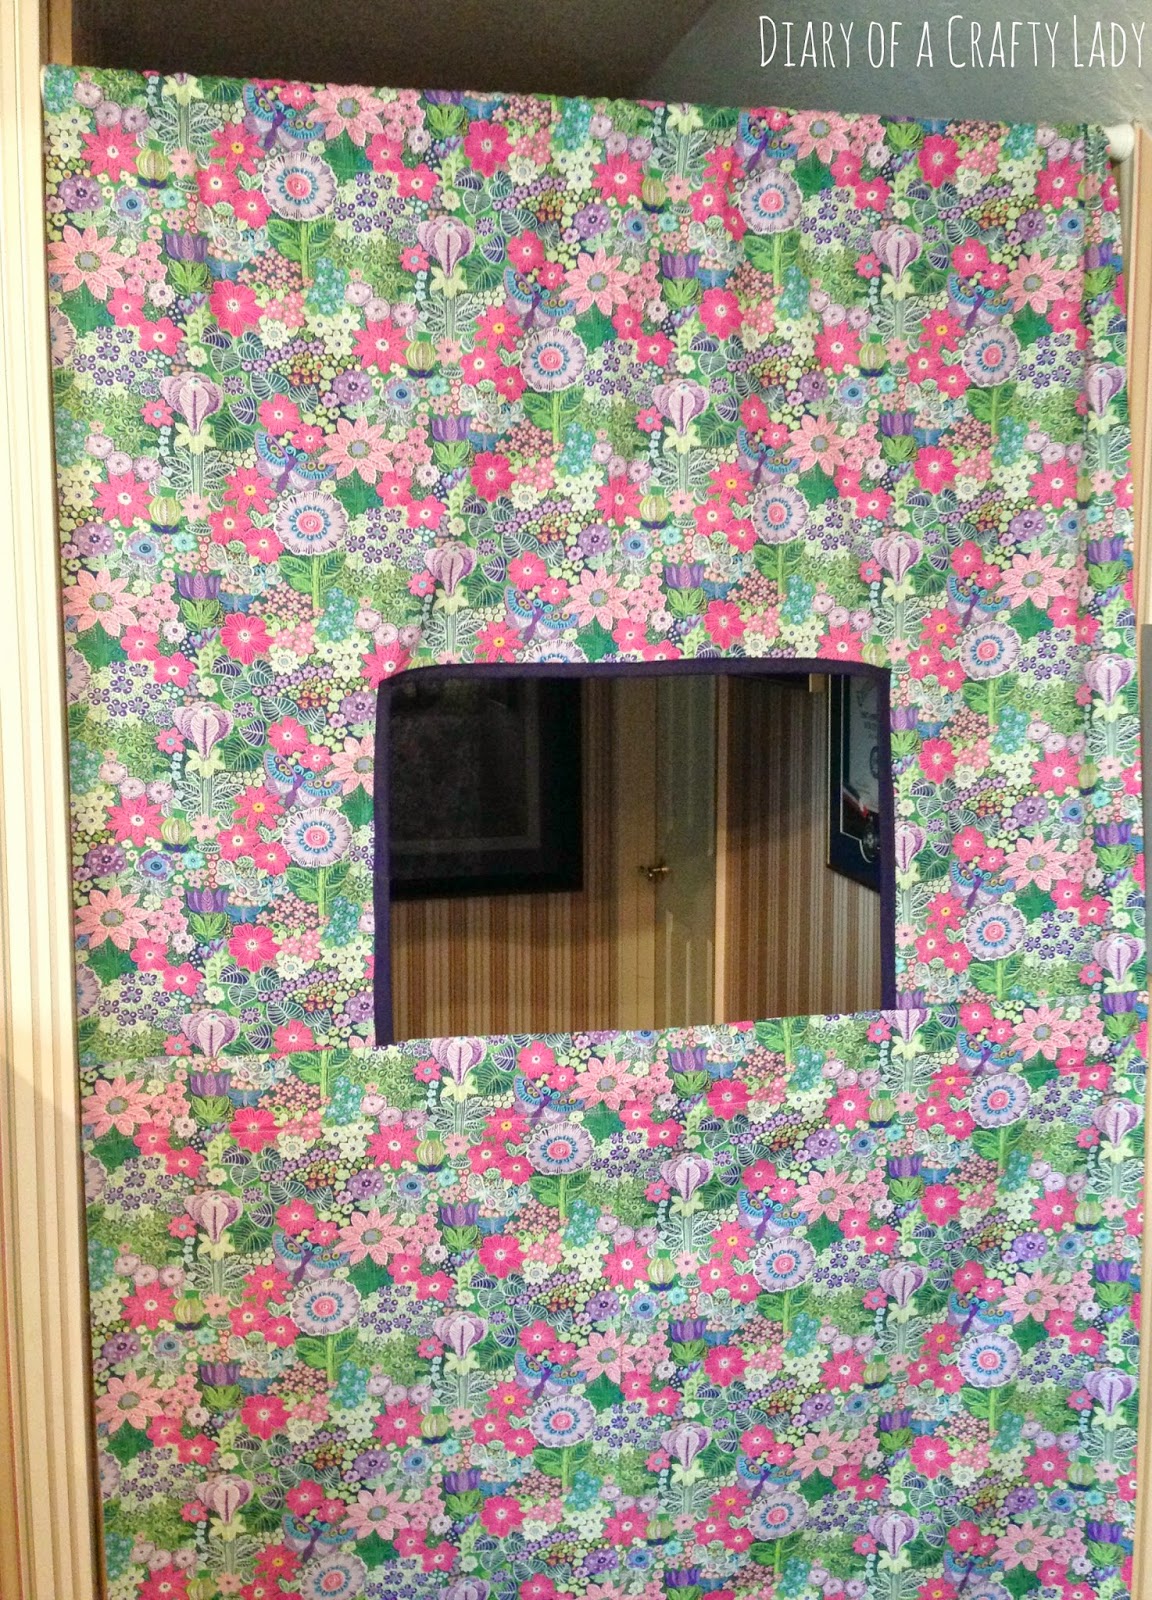
My middle daughter loves putting on puppet shows. She has such an amazing imagination! She creates scenes and characters from paper and crayons, and tapes them onto popsicle sticks to hold them up. Her puppet shows are elaborate and her pictures are darling - it is such a treat to witness her creativity! Usually she sits behind a chair or the couch to tell her tale. When I saw this idea for a hanging puppet theater facade - I knew I wanted to make her one! It hangs in a doorway or hallway with a tension rod, and is easy to put up and down.
I already had a tension rod I wasn't using, so I went and picked up some fun fabric and got started.
2.5 yards of the main fabric was more than enough to fill the doorway. 3/4 yard of the pink fabric was for the curtain, and 1/2 yard of the blue fabric was for binding and bunting. Bias tape would also work for binding.
I cut off the selvage on the large piece of fabric, and zig-zag stitched the long raw edges to keep them from fraying. On the top edge I folded it over once by 1/2" and ironed...
Then folded it over again by 3.5" and pinned it down. I sewed 1/4" from the edge (the folded edge toward the middle of the fabric) and this created a sleeve for the tension rod to go through.
I decided where I wanted the bottom of my window, and cut the long piece of fabric off at that height. Then, I folded that top piece of fabric in half to cut out a window right in the middle. My window is 24" wide and 14" tall. I used my home-made "bias tape" from the dark blue fabric to line those three raw edges. Don't worry too much about where you put your window. You can raise or lower the tension rod a bit if necessary.
With the remaining large piece of fabric that I cut off, I looped it just as I had the top, to create another sleeve. I wanted a sleeve below the window so that I could put something through it to hold the bottom of the window straight.
I made the loop nice and wide at 3 inches. Then, with right sides together, I sewed the two large pieces of fabric back together. The piece of fabric with the window was sewn at the bottom to the remainder of the fabric with the looped edge on the top. If you look closely at the picture below you can see what I mean.
I ended up sticking a yardstick in the sleeve, but you could use another tension rod or a dowel. Something that will hold the middle of the fabric taught.
To make curtains I cut the pink fabric into 2 large panels a few inches taller and collectively a few inches wider than the window. I zig-zag stitched the edges to keep them from fraying. I looped over the tops and sewed them to create a sleeve for a dowel, and looped over the bottoms so it would look nice.
On the back, I sewed two tabs of fabric a few inches outside, and above, the window opening. Through these tabs I was able to place the dowel that had the curtains hanging on it.
This system allows the girls to open and close the curtains from the back...
On the edges of the window I sewed loops of ribbon which allow us to tie the curtains back.
Below the window I sewed a button, so that we could hang a sign from it with the title of the show!
Triangles of fabric sewn to a piece of ribbon made a quick bunting to add a little flair!
And in just a couple of hours, my little puppeteers had a theater worthy of their elaborate productions :)
It has already been really fun to listen the stories, and watch the silly shows. My girls spend hours creating puppets and practicing their plays - which is great for these long summer days! And another bonus - the theater folds up small and is easily put away. No permanent structure in our small space.
I am so happy with the way this turned out! Even for a beginning sewer, this is a quick and satisfying project. If your kids love putting on their own productions - this tension rod puppet theater is a must!

Follow me on Instagram @ diaryofacraftylady
Follow me on Facebook


