Pages

August 18, 2010

Rock Fishes


My daughter LOVES rocks.  She will pick them up from anywhere - and points them out no matter where we are.   
Recently, while we were visiting Utah, she and I picked up rocks from this beautiful waterfall we were playing at, and I decided to commemorate the trip by making the rocks into a bit of art for her room.

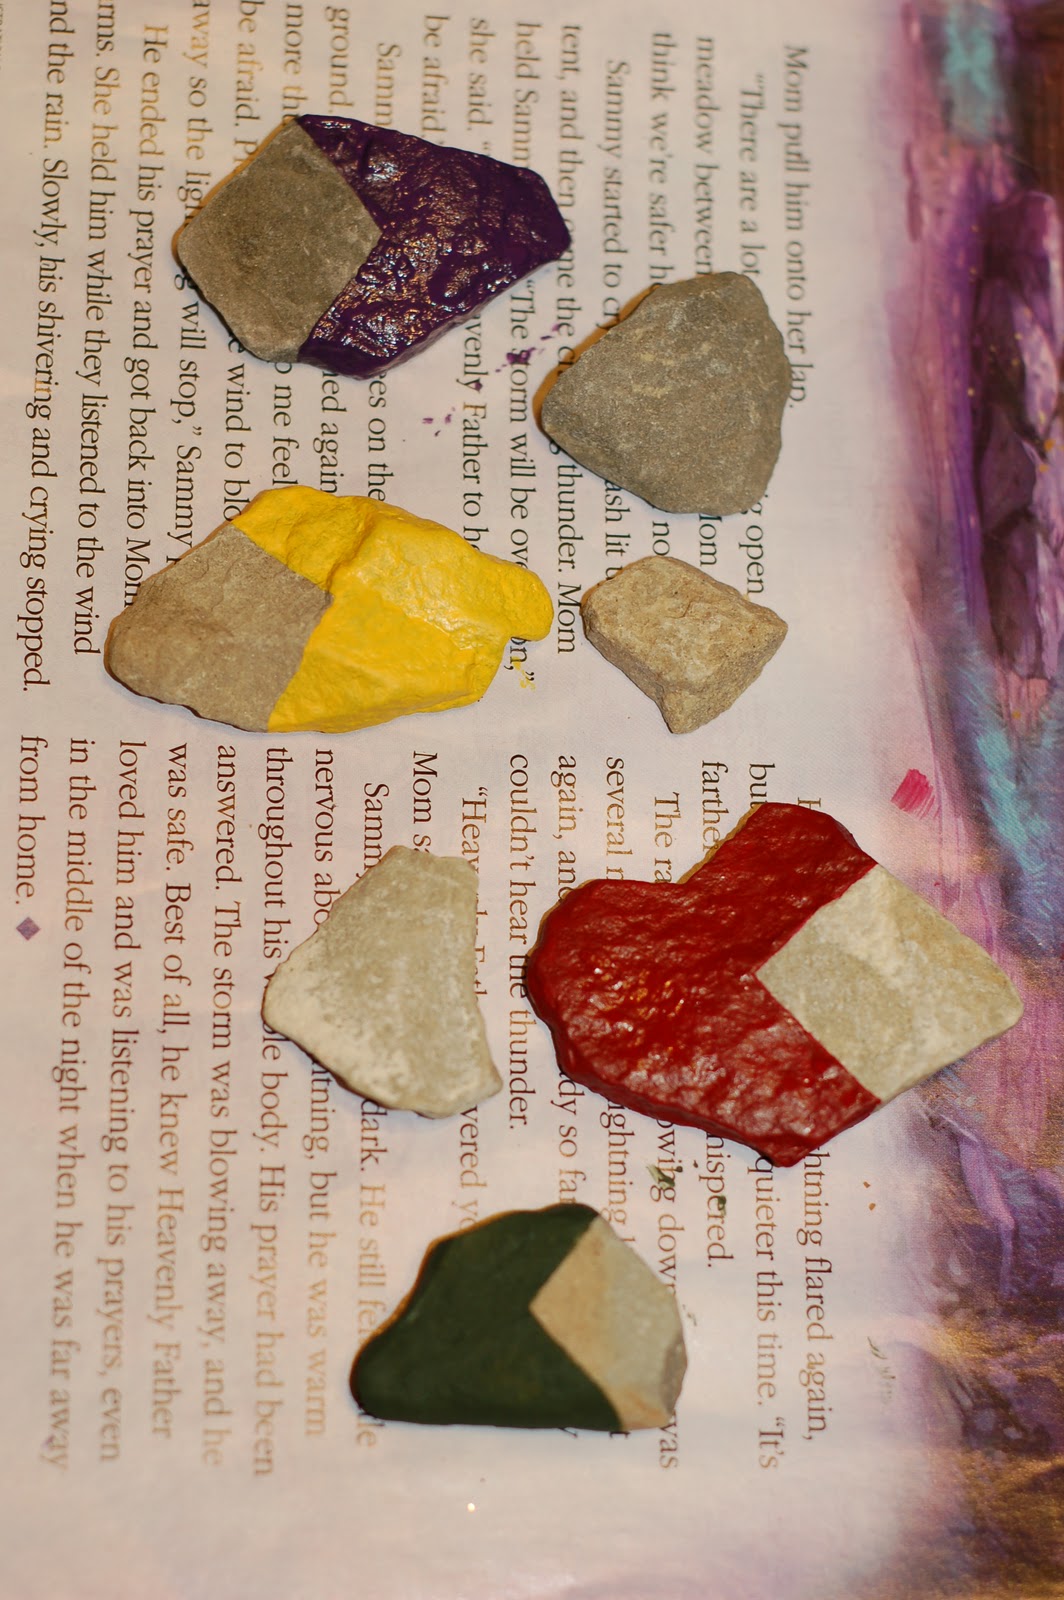
I used some old brushes and bright acrylic paint. 
I decided to make them into fish so here are few progressions of coats of paint.  The darker colors were easier to paint, and took fewer coats to cover the rock. 
1ST LAYER
2ND LAYER
MID WAY THROUGH DECORATING - WITH THE EYES

FINISHED!  I got a cheap yellow 5x7 frame and glued the rocks to the aqua colored cardstock, let it dry overnight, and hung it in the girls room.   Looks awesome!  I might make rock art with rocks from all the states we visit!


image signature

Cereal Box Box

Meet the top of my fridge.  Or what used to be!
I was tired of cereal boxes falling off the top of the fridge and onto the floor every time we tried to grab one from the middle, (and wasn't to thrilled about the way it looked either).

So, I decided to make a box for the boxes.
I took this cardboard box, which was the right size for the top of my fridge, and cut off the side flaps.  The bottom is just taped closed.
I wanted to make it match the kitchen by mod podging it with blue, yellow and orange paper.  I recently got some great William's Sanoma kitchen towels in those colors - and this matches!

Then, I took two strips of fabric I had sewed, put velcro on both ends and on the box, and this created straps to hold it closed. 
Now, we have a nice, contained group of cereal boxes - no longer falling on our heads at the slightest provocation!


image signature

July 26, 2010

Repurposed Men's Dress Shirt into Girl's Dress


I have been dying to try this dress shirt repurposing – and when my husband gave me a stack of dress shirts to give away – I snagged them for my project!

I followed this tutorial, and I am very pleased with the result.

Although the tutorial is very thorough, I am posting a few of my own pictures, particularly where I felt hers were lacking.

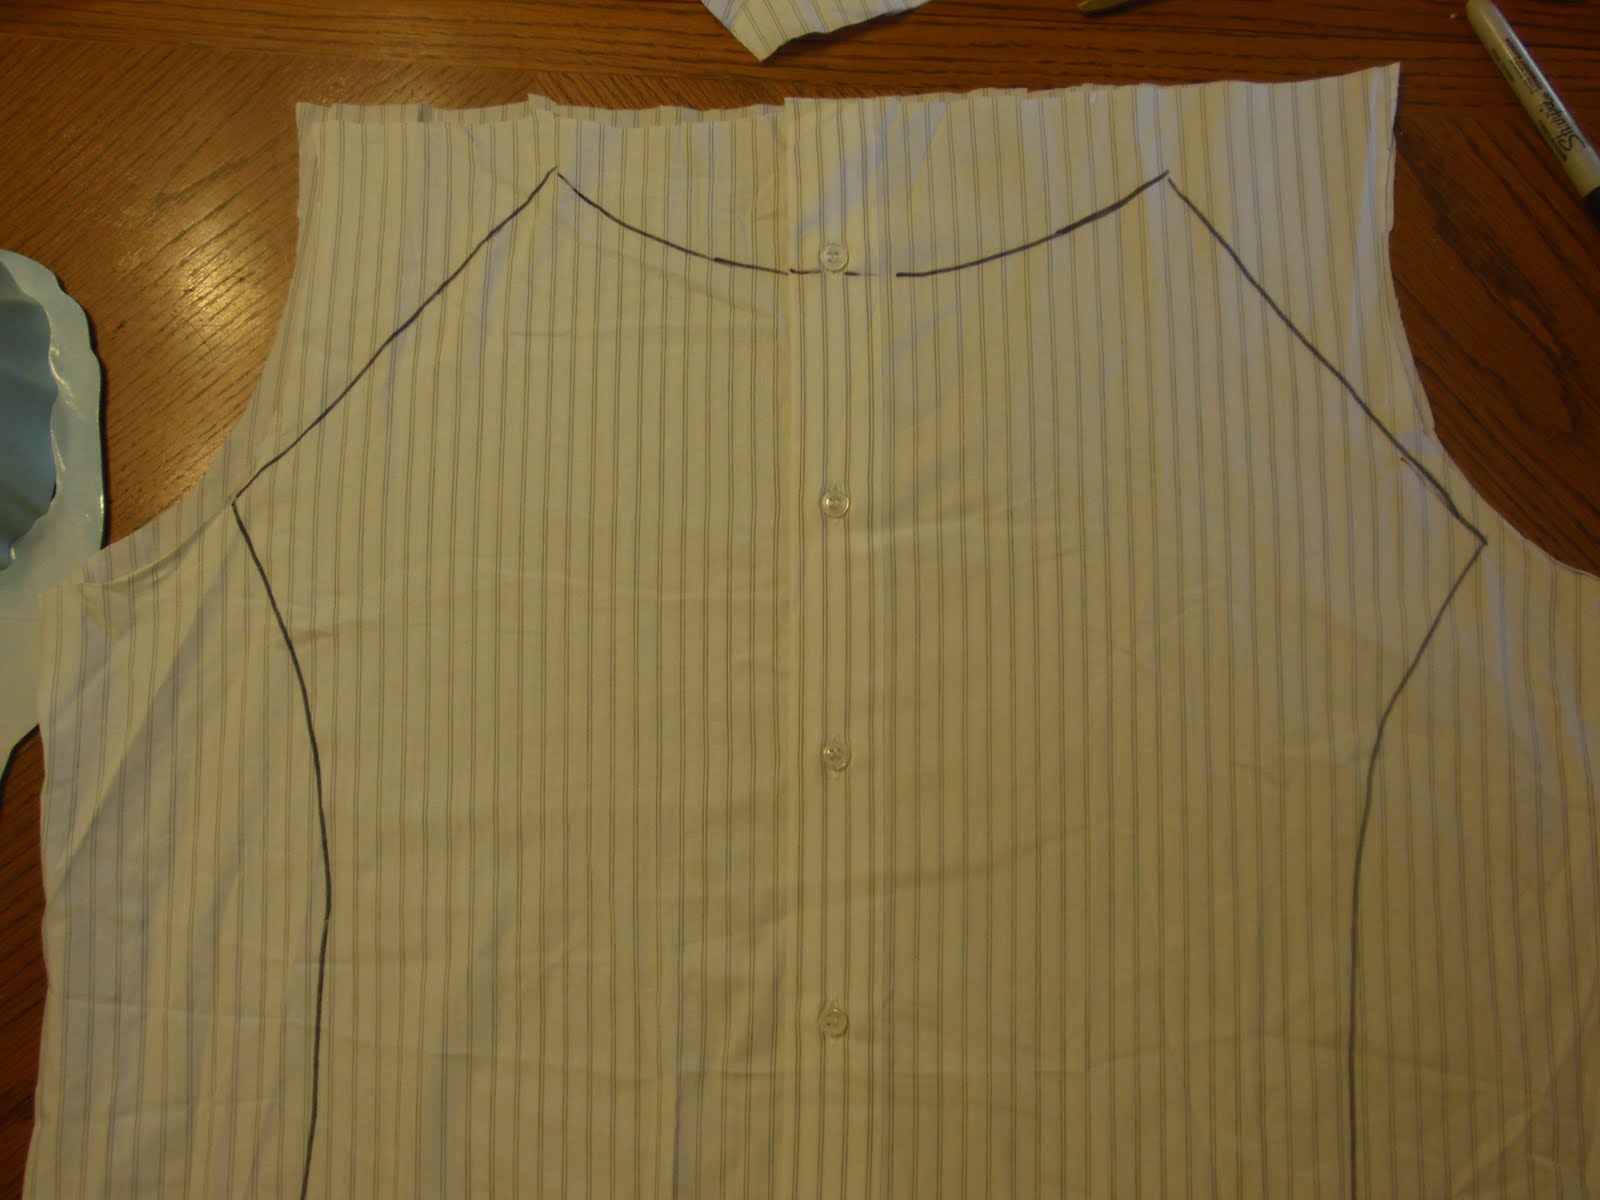
First, when I made my pattern on a scrap of fabric, I had a very hard time duplicating her measurements. Her drawings are not really to scale, and my patterns, although measuring the same, looked very different.
I started with another one of my daughter's dresses, and decided that I wanted some of my measurements to be a little larger than the ones in the tutorial.


One measurement I wish I had had was across the widest part, from bottom of arm to bottom of arm. I estimated about 18”, and that helped me calculate the rest of the measurements.


In order to find the angle of the sleeve (line B), I used simple math.

18” (width of armpits) – 9”(width of neck) = 9”.

9”/2 = 4.5”.
A = 4.5”

We know that
B = 7”

When you have 2 sides of a triangle, and need to know the length of the 3rd side, you use:
A2 + B2 = C2
A2 = 20
B2 = 49
So, I need the square root of Approximately 20 + 49 (or 69).

The square root of 69 = approximately 8”

So, measure down from the edge of the neck by 8”, over by 4.5”, and you can connect the two by a 7” line which will be at the correct angle. Did I lose you all?! :)

Once you have it cut out, the rest of the tutorial is easy to follow.

I do not have a surger, so I used a zigzag stitch on the edges.

Here are some pictures of my casings before the elastic is put in (not the most beautiful).


But after the elastic is put in, you can’t even tell!


Here is a picture of my finished waist line:

And the finished hem:

My daughter loves wearing it, and I love that this great (very expensive) dress shirt gets more use!

Too cool! (Like the Cinderella heels?!)

image signature

July 24, 2010

Mod Podge Storybook Cabinet


I had a little plain white cabinet, and didn't know what to do with it.  I needed something to hold my daughter's bows in, and my mom suggested that I mod podge the entire cabinet with phrases and images from their favorite books.
We love the Sandra Boynton books in particular, so I decided to cover the cabinet with colorful pictures and words from her books.

First, I covered the cabinet with torn pieces of tissue paper, in a wide variety of colors.  I would cover a small section of the cabinet with the glue, lay down tissue paper, and then paint over the paper with more glue.  (It took a few sittings:) )


I could have left it just like this - it was pretty cute! 
After the tissue paper was completely dry, I decided where to put the pictures and words.  (You could use the actual books to cut up - which would work great - but since mine are board books, I used a combination of color copies and typing out the words.) 
I spread another layer of mod podge and stuck down groups of words and pictures.  I then applied a generous layer of mod podge over the whole thing. 


It is very fitting on the wall of my girl's colorful room.  I put their bows and headbands inside and it works great!  I may find a way to put up a mesh barrier inside, to hold the bows in as the pile gets taller, but for now, I love it!

image signature

July 22, 2010

My Ruffle Shirt


I have seen so many bloggers post about ruffle shirts lately. Every time I see one, I think how cute, simple and fun they look. So when I saw this cheap shirt at Gymboree, I bought two and thought I’d take a shot. 


I cut the extra shirt into 1.5” strips (if you look really close, you can see them against the shirt below.) The middle one was 12.5” long, the side ones were 10.5” long.

Using a long stitch, I stitched down the middle of each one and pulled one string to gather it until it was half of its original size.  Then, I pinned the ruffles an inch and a half apart and sewed them onto the shirt down the middle along the gathering stitch. 

Using other 1.5" wide strips of varying length, I twirled them into small, middle and large sized flowers, and pinned those on, in between the ruffles. 

I sewed each one of the flowers on in rough circles, winding my way from outside to inside. 
I used the same technique to make the flowers as seen here - just without using glue.
I am toying with the idea of adding ruffles along the collar as well...but that might just overdo it:)
 For other great ruffled shirt tutorials, take a look at Tea Rose Home - like this post here.

image signature