I am in love!!! This project turned out just as I had envisioned it - and I made up the pattern entirely on my own! I just love it when that happens...I feel so proud:)
So, I will tell you what prompted the making of these slipcovers.
We have a very tiny kitchen, with no space for a traditional table. I like to cook though, and it is important to me to be able to have my kids in the kitchen with me. So, IKEA saved us with this wall mounted dropdown table. It is WONDERFUL to have! And it is the perfect height for these perfectly functional child sized chairs that I picked up at a yard sale....
However, no matter how much I scrub them, they always look a little grungy, and let's face it, the bright red and blue are just not my favorite color combination.
So, I have had it in my head for quite a while that I would like to make little slipcovers for them - and cover that red and blue brightness right up.
When I had a few days off work during spring break last week, I decided that this would be my project for the days off. I was prepared to spend days figuring this out, and sewing, etc. - but I am happy to say that I came up with a pattern and sewed it all together in just a couple of hours!
These are really not that difficult to make!
Here are the 4 pieces needed to make the cover (pic below). This tutorial can be used to make a cover for any sized dining chair - as long as it doesn't have arms.
I made a pattern out of muslin.
To make Piece #1: I laid my chair back onto the fabric and traced around it.
Be sure to account for the depth of the chair back (mine was 2 inchs thick) and account for seam allowance. Ultimately, I added about 2.5 inches around the entire outside of the chair.
Mark where the height of the seat is (see picture below).
This pattern piece should be symmetrical from left to right. If it is not, you can fold it in half (long ways) and even things up. Just don't cut off too much and loose your seam allowance!
Piece #4: Is simply the top part of Piece #1, down to the lines that mark where the seat is.
So, after cutting out Piece #1, I lined up the seat marks with an edge of the fabric, and cut around the top half to make a match.
To make Piece #2: Measure around the front 3 sides of the seat and write down the measurement.
Measure around the bottom of the legs on the same 3 sides and write down the measurement.
The picture below shows the 2 places you will measure, and how pattern piece #2 fits.
Also, measure the height of the seat from the ground.
Mark a line in the center of your fabric (see picture below). Make that line the same length as the height of your seat.
Take the measurement from around your seat (blue line from pic above), and divide it in half. For example, if it was 34" around the 3 sides of your seat, half of that is 17". From the top of the center line, measure 17" to the right, and 17" to the left. Make sure that the marks are the same height as the center line. Connect the marks with a line.
Take the measurement from around the legs (orange line from pic above), and divide it in half. Measure out from the bottom of the center line half to the right, and half to the left.
The reason for measuring this way, is so that your top and bottom lines are centered. That way, when you connect the top line to the bottom line on the left and right side, the angle is the same on both edges.
The picture below should make this clear:
You can see that you made a trapezoid based on the measurement around the seat, and the measurement around the legs. If those 2 measurements were the same - this would be a perfect rectangle.
To make Piece #3: The seat piece has a flat edge along the back side. This flat edge should be the same length as the flat bottom edge of piece #4. So, trace around your seat, with overhang for seat width and seam allowance, and make sure the back edge is the same width as the bottom of piece #4.
To begin sewing: take piece #2 (trapezoid leg covering) and piece #3 (seat) and pin them,
right sides together. The shorter top side of the trapezoid #2 piece will line up with 3 sides of the seat piece #3. The back flat edge of piece #3 will not be pinned. Again, view the picture below for better explanation.
You have to be careful pinning, because you are creating a curve. My advice: use a lot of pins!
Sew these pieces together using 1/2" seam allowance. When flipped right side out, it will look like the picture below!
Next, sew piece #3 to piece #4. With
right sides together, pin the final side of the seat piece #3 (the flat back part) to the flat bottom part of piece #4. Sew together using 1/2" seam allowance. When flipped right side out, it will look like the picture below:
The last piece is the back piece #1. With right sides together, pin this piece all the way around what you have just sewn.
As we discussed, when you made piece #4, it was an exact tracing of part of piece #1. These parts will match up, right sides together, and be pinned. Then, the rest of piece #1 will match up with the edges of the trapezoid piece #2.
Sew around all these pinned sides with 1/2" seam allowance. (The only edges that will not be sewn when you are all done are the bottom flat part of piece #1, and the long bottom edge of trapezoid piece #2.)
When flipped right side out, it will look like the picture below:
All that is left is the hemming!
With the slip cover on your chair, fold under the raw edges as far as you like, and pin.
Iron the folded edge flat (you could double fold if you want to completely remove the raw edges underneath the slip cover) - and top stitch 1/2" from the edge.
I tied strips of sheer fabric around the seatback for a decorative element.
I
love how they look! I used offwhite fabric for most of the seat, and colored fabric for the back of the chair, but obviously, you can make these completely colored, or completely white, or any combination.
I have been thinking that it would be fun to applique a design onto the seatback part of the chair - especially for these little kid ones. Or it would be fun to make some specifically for holidays or birthdays!
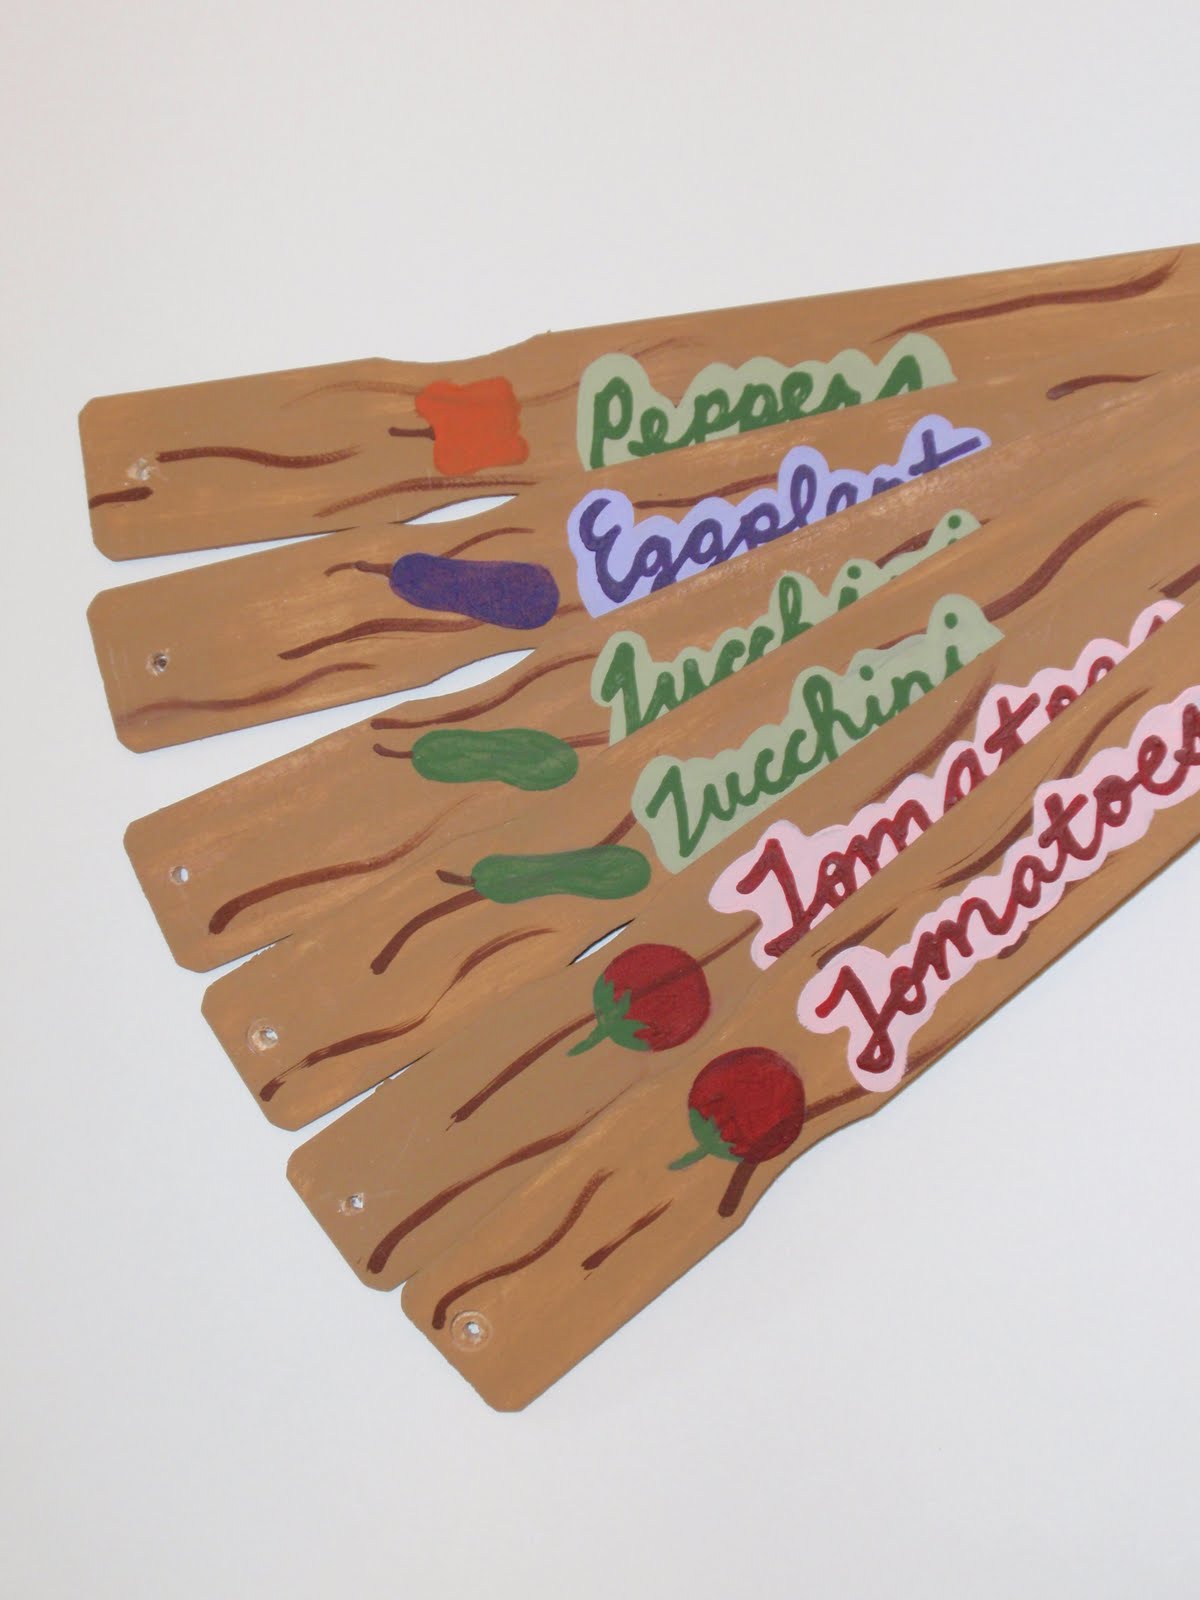
This is a picture of the whole setup - with my handpainted signs on the wall above. It is nice to make small spaces happy and decorative.
Be sure to ask questions if this tutorial is confusing. But be assured - that it is not as difficult as it may appear! You can easily make your own too :)