Pages

April 20, 2012

Perfect Playdough Recipe


I got this recipe from the local Boys and Girls Club - so I knew it was tried and true - and it is amazing!
The dough is so soft, DOESN'T CRUMBLE, and this makes a great big batch, fast!


Perfect Playdough Recipe
Place all these ingredients in a medium sauce pan:

2 Cups Flour
1 Cup Salt
2 Tablespoons Cream of Tartar
2 Cups Water
2 Tablespoons Vegetable Oil
Food Coloring (optional)

Cook on medium heat, stirring until the dough forms a ball.
Remove from heat and knead on a hard surface.
Let cool completely before storing in a Ziplock Bag.


The Boys and Girls Club said they keep theirs for at least 2 weeks (and I imagine they use theirs almost every day).  I haven't had this batch that long yet, but it is still perfectly soft.
The great thing about playdough is that it keeps my kids entertained for hours - and the really great thing about this recipe is that it reduces the amount of playdough that is tracked around the house!  We just use our regular playdough toys with this dough, but any old cookie cutters and plastic utensils would be just as fun!

I hope you can go make a little person really happy by making them a batch :)

image signature

April 17, 2012

Framed Magnetic Board


This is one of those great ideas I found on Pinterest.  This link leads right back to the post at The Twice Remembered Cottage that describes how they did it - which is slightly different, because they built their own frame. 
I found this guy on the side of the road on trash day :)  Huge wooden frame (In fact it had glass intact! Need to think of something to do with that...), and the foam backing was there and clean enough to reuse.

I painted the frame black, and distressed it a bit.  Then, I sprayed it with clear sealer. 


I got this giant piece of sheet metal at the hardward store, and cut it down to the right size with tin snips.  Because my frame was so big (about 2' x 3'), this piece was pretty expensive ($20, I think), but since it was the only thing I purchased for this project, I was okay with it.  Smaller pieces of sheet metal are much less expensive. 

I tore pages out of an old book.  Some of them I faux aged with a tea bag.  To do this, I got the tea bag wet, and used it like a paintbrush across the pages.  I let the pages dry overnight.  Then, I sprayed spray adhesive on the metal, small sections at a time, and set the pages down, smoothing them with a credit card type card. 
You can see how some of the pages are darker color than the others, from the tea.  I trimmed around the edge of the metal, to cut off the pages that were hanging off the edge.  I also sprayed over the pages with clear sealer - though I don't know if it needed it.  I made sure all my edges were sealed well with the spray adhesive, so I probably could have gone without the clear spray over the top.  It added spots that look perpetually wet, so I don't know if I would recommend it. 

I put the metal in the frame, along with the foam backing that came with it, in order to make it fit snug. 

Here it is with a few magnets.  I was thinking it would be fun to use to hold a reading chart in the summer, what with the book pages as a background :)

Or, it is pretty darn cute holding my daughter's rainbow princess picture...

image signature

April 10, 2012

Fabric Super-kid Cape


My daughter went to a friend's birthday party recently - and this friend just happens to be a boy (imagine that) :)  This boy loves capes, and this gave me the perfect excuse to make one for him!

I made my first cape a couple of years ago....click this link here to see it (and the instructions on how I made it!)  That was for Halloween, and it turned out really well.

I am very happy with this one too - and it is really not difficult!  This could be a beginner's sewing project.

Each side of the cape is made from 1 yard of fabric.  I like having the capes double sided - it adds fun for the wearer.  You can see the shape above, cut out from each yard of fabric.  I used a string and a pen to mark the back side of the fabric with this shape. 
If you have someone hold your string down at the middle edge of the long side of fabric, and extend your string almost to the other edge of the fabric, you can swing the string/pen in an arc to mark the even round shape of the bottom.  Same concept to mark the neck arc - just make your string much shorter.
This picture should make it a bit more clear:


You can, of course, make a cape without pictures sewn on (that would cut the time it takes WAY down).  If you like the shapes, cut them out of scraps of fabric, and zig-zag stitch around the edges to secure them onto the cape.


I often use bias tape for the neck ties - but you can make your own strips with scraps of the same fabric. 
Then, the cape is made simply pinning right sides together, with the neck ties facing in at the edges of the neck curve, and sewing all the way around the cape.  Leave a couple of inches open to turn it right side out.  Iron the cape at this point for a nice crisp look.  This time, I top stitched all the way around the edge of the cape, 1/8" from the edge, in order to secure the hole shut. 

This size, made with 1 yard of fabric, is long on my 3 year old (above), and just right for my 5 year old (below).  So, if you are making one for a 3 year old, don't use the entire 42-44" width of a yard of fabric.  This size would work for a few years older than 5 I would imagine...it certainly is long on my tall 5 year old. 


Capes are fun accessories for costumes - fun for imaginative boys and girls - and extra fun when they are personalized!  Don't be afraid to go whip up a cape for your favorite little super-kid!!

image signature

March 2, 2012

Custom Paper Art Winner!


The Time has come to announce the winner of the
MadamMay Artwork giveaway!


#9 - Congratulations to Vanessa!
We'll contact you by email shortly.

For the rest of you, be sure to check out MadamMay's Etsy Shop for beautiful, original, one of a kind artwork, and AMAZING prices!!


And Remember: 
MadamMay can custom design a piece just for you! 
So go check her out!


image signature

February 25, 2012

Child ID Tag on Shoelace - made from a Pop Can!


Okay, so call me protective, but a few days before we were going on our recent family vacation, I started to worry about the possibility of my kids getting lost.  Neither of them have our phone numbers memorized - and even if they did, would they be coherent enough to remember them when they were surrounded by strangers?

I know that people make ID bracelets, and necklaces, and all sorts of things - but I wanted something that we didn't have to remember to put on each day, and wouldn't itself be lost.

So, I decided to put a little ID tag on their shoes - and being the DIY/Repurposer that I am, I decided to make it out of a pop can!

February 18, 2012

MadamMay's Original Artwork! + a GIVEAWAY!

(GIVEAWAY NOW CLOSED)


I am so excited to introduce a new sponsor to you!
MadamMay's Etsy Shop is filled with
beautiful one of a kind artwork that she has designed and created all herself!
Each piece is carefully handmade, with a combination of paint and intricately cut designer paper.
Covered in a protectant clear coat, this art is durable and perfect for a child's room, or any room in your home!


I mean, how adorable are these owls?!  And this is just a small sampling of the things she has created!  She is constantly coming up with new, fresh ideas. 


And get this: 
MadamMay can custom design a piece just for you! 
She can transform your family into a sleuth of bears, a sounder of pigs, a paddling of ducks... You could hang on your wall a tailored representation of your very own family.

Or, she could design something that fits your existing decor!  Can't find a frog's lily pond in yellow? Want a dragon that spits jellybeans instead of fire? Send her a picture of a themed nursery or kid's room so she can build the piece that ties it all together.

Seriously, this girl is amazing!  And you would not believe how reasonable her prices are!

And would you believe it?!  She is giving you readers the chance to WIN A CUSTOM PIECE!!
(giveaway now closed)

To enter:
Go over and check out her adorable Etsy Site
Come back and leave me 1 comment, telling me what your favorite item in her shop is. (Be sure to leave your email address so I can contact you if you win!)
 
1 winner will be chosen to receive a custom 6"x6" canvas artwork.  

You will be thrilled when you have one of these beautiful pieces hanging in your home!
Madammay.etsy.com


image signature

February 14, 2012

Mini Polaroid Magnets


I first saw this darling idea and tutorial on Pinterest here - and I have had it on my to do list for a while!
I LOVE how tiny they are, and polaroids are so fun and nostalgic. 
Plus, I LOVE magnets.  You can check out other magnets I have made here, here and here. 

They are actually very simple to make, and I made a couple of sets of Polaroid Magnets as gifts for an anniversary, a birthday and Valentines Day :)
And you know what's fun?  If you want to give these as a gift for a friend, you can go on Facebook and use some of their profile pictures (open up the pic, right click and say "Save Picture As").  That way, it is easy to make it a surprise!

Here are the supplies you need:
Packing Tape
Sticky Back Magnets (I used magnetic tape I found at the craft store in the exact width I needed for the mini polaroids!),
and The Pictures

Go over to Ambrosia Creative because she has a file you can download straight into photoshop that makes creating these mini polaroid pictures a snap!  It is a template for the polaroid shape, that you drop your pictures into, and it is all sized to print out as a 4x6 picture!

If you don't have photoshop, you could do this in Powerpoint (although the quality wouldn't be quite as good).  The "polaroid" shape is really just an offwhite rectangle, and you could put a little square picture inside it, offset so you have extra white space at the bottom. 
You could also take printed pictures, and cut out small portions and piece this together by hand with some white card stock as the background.


They are assembled by cutting out each polaroid shape, putting packing tape over the top of the photo (to protect it), and attaching it to the adhesive magnet (which you have cut to the correct size).
I also spray painted my magnet edges white, so that the 1/8" thick magnet edges extended the "polaroid" look. 

So, if you love magnets as much as I do, you will love making these cuties!
So glad you stopped by!!
image signature
Follow me on Facebook


February 10, 2012

Clothes pin Clip Board for Winter Stuff


This was a guest post I did a few weeks ago - and I can tell you that it is still working great!
So - here is the original post:
We live in New England - and we love it!  But with the early snow fall this year, we had to bust out the gloves, scarves and hats before we had even finished Trick or Treating!
Of course that meant that not only are candy wrappers and Halloween costumes littering the floor - but all the winter clothes are too...
We have hooks by the door for their coats - which they are very good about hanging up - but all the rest had no home, and so, I decided to fix that!


One of my favorite things is the scrap pile of wood at Home Depot.  Didn't know they had a scrap pile?!  Well they do!  And you can get great wood for really cheap there.  There is rarely a wood project I do anymore that isn't made with wood from the scrap pile!  (It also means that if I mess up - no big deal!)

So, I took a piece of pine, about 5' tall and 3" wide, and sanded it really well.  Then, I painted and mod podged it until it looked like this....
I used acrylic paint and scrap fabric - but you could mod podge on scrapbook paper, or even just leave it a natural wood color.  I figured that since it was going to hold the kid's clothes - it would be fun to have bright colors.


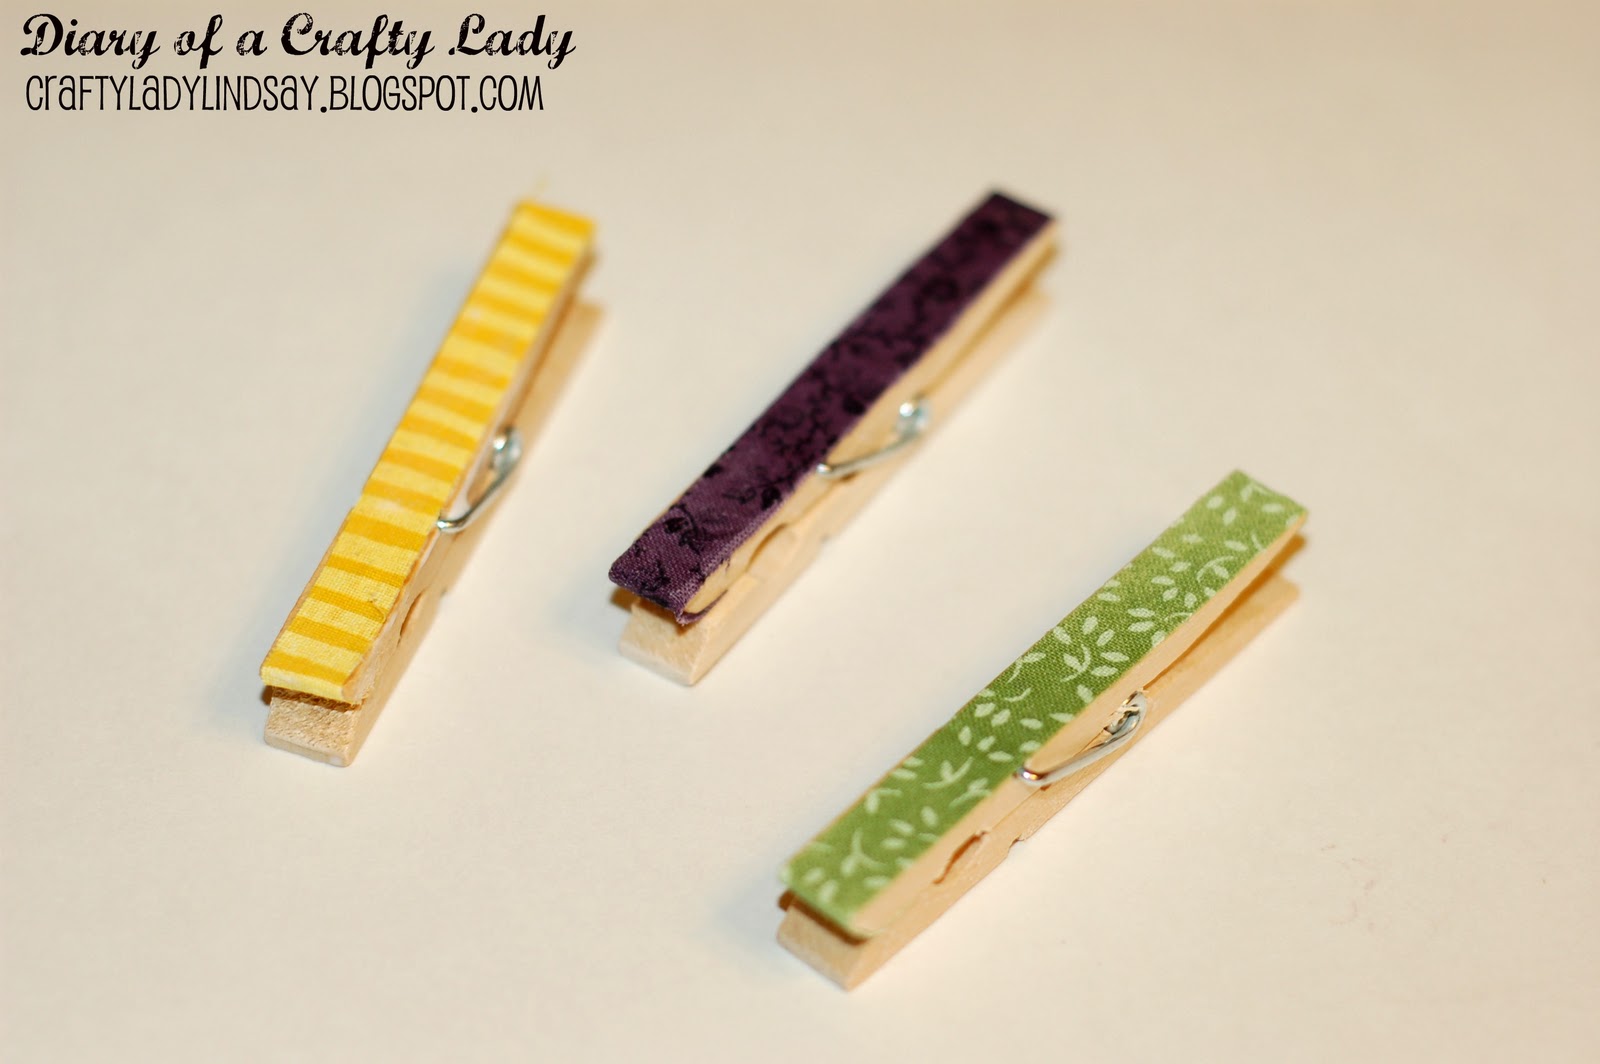
I also decorated about a dozen clothes pins (these are also very inexpensive at the hardware store!)  I mod podged fabric onto one side, but you could paint these, or leave them natural wood as well.


With a hot glue gun, I glued the clothes pins onto my board at intervals, leaving a couple of inches in between each one...

And that was it!  Hats, gloves, scarves - all hang easily from the clothes pins!

With a piece of hanging hardware attached to the back, I hung mine by the back door, within easy reach as we are heading out...

It is easy for my kids to use, so they can get their things themselves (and put them back themselves!).

And hopefully, we won't be dealing with as many lost hats, gloves and scarves this winter!!


And there you have it!  A very easy, very useful project!
It's funny, because we have had a record breaking lack of snow so far this year (knock on wood) - and haven't used the winter stuff all that much this year....but it is still nice to have this stuff handy :)

image signature
Follow me on Facebook