Pages

March 25, 2013

Old Drawer Wall Shelf


Have I mentioned how much I love New England ;) (About a million times, right?)
I picked up a few desk drawers off the side of the road about a week ago, and they were in great condition!  I've been working on a few projects with them, and this is the first one I finished.


We've had bunk beds for about 6 months, and my oldest daughter is on the top bunk.  She likes to have water, and books, and other little things up there with her - but they've never had a place to live.  She just keeps them tucked into the corners of the bed, or under her pillow :)

When I saw this drawer, I was excited to make it into a little shelf to hang up by her bed!


I painted the inside walls with a bright color acrylic paint that matches her room.  I used masking tape to create clean lines on the outer edge.  I let her pick out scrapbook paper for the back, and after cutting it to the correct size, used spray adhesive to adhere it.

If you look at the very first picture you'll see the D-ring hangers I attached to the drawer.  They hang on screws in the wall - and it feels pretty secure up there.


I LOVE repurposing things - and this little drawer looks so cute up there!  Now there is a place for all my daughter's little treasures...and she doesn't have to sleep on them :)

image signature

March 18, 2013

Little Wooden Houses


I made these little wooden houses for a friend. 
Quick and easy, check out the original post here.

image signature

March 17, 2013

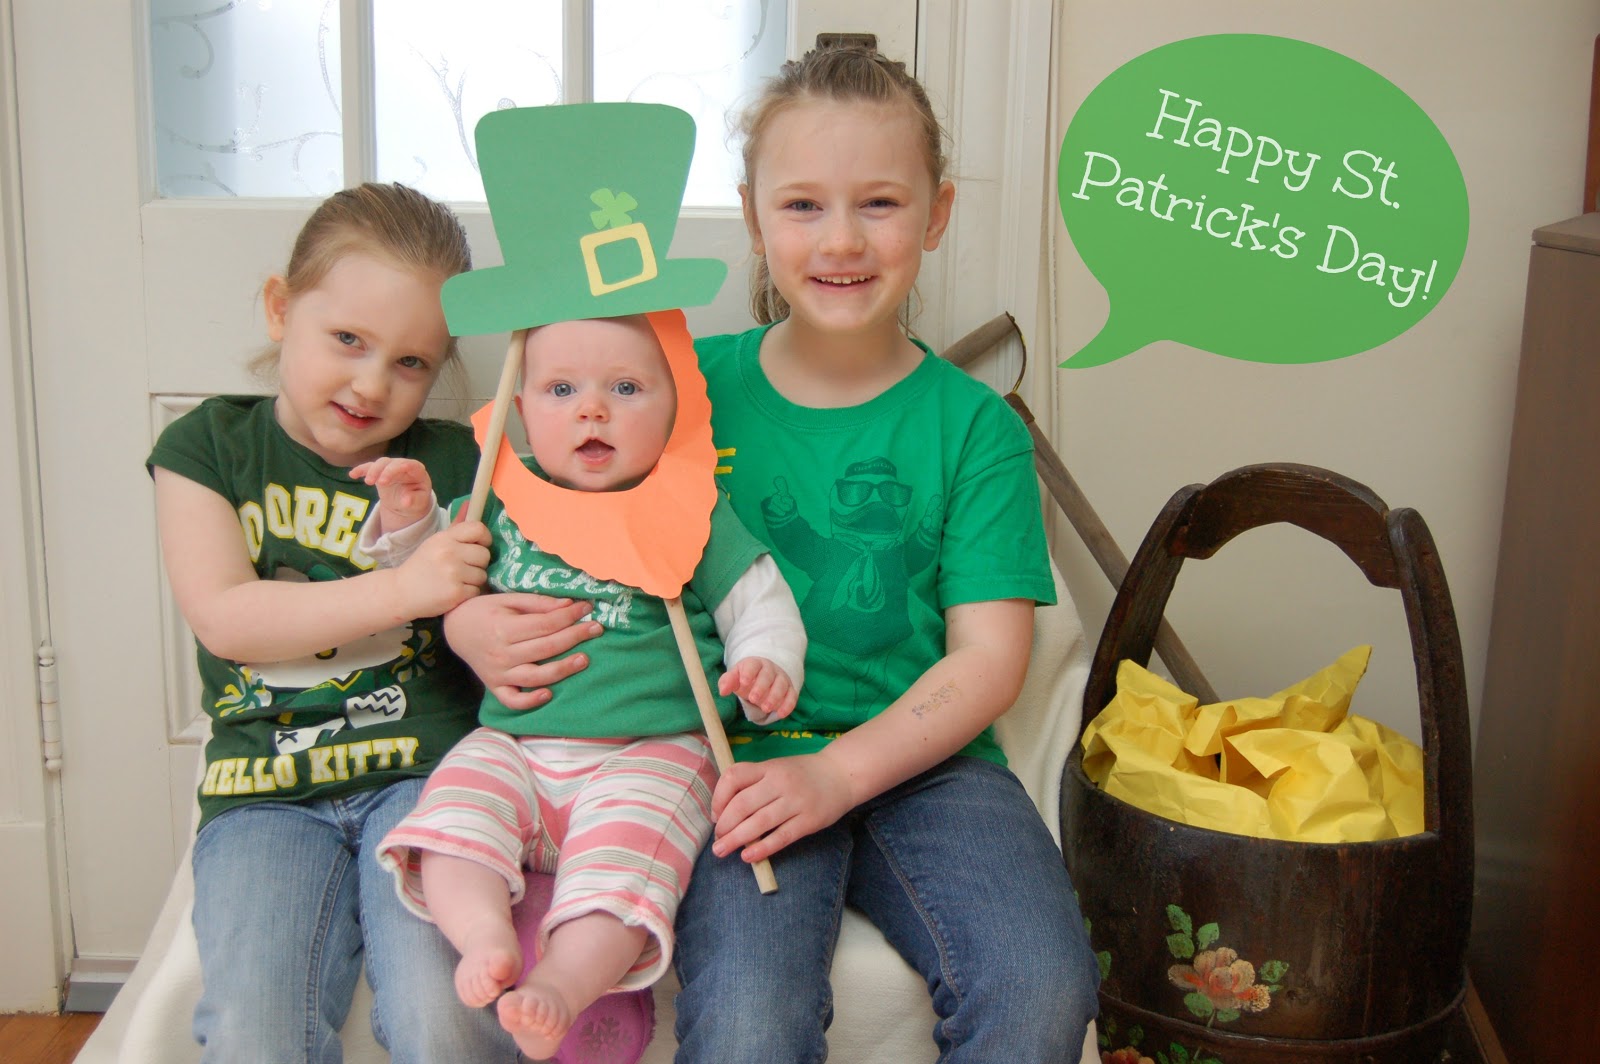
We Caught a Leprechaun!


image signature

March 11, 2013

Kitchen Wall Signs


I recently gave the signs in my kitchen a little facelift, and I wanted to share! 

Just last week I picked up this amazing vintage metal letter at a darling farm store here in Massachusetts -- the farm is celebrating its 300th birthday!! 

They had a few old things for sale, and I am so glad I didn't pass this letter up - I LOVE the way it looks in the kitchen!  The color is awesome - the chippy-ness is charming...and it is our last name initial, which is cool. 
Buying antiques here in New England is so much fun, and I am still giddy about this one!  It is big, and heavy, and it has little grooves in the back so I can easily hang it wherever I want.

Once I got it in the kitchen though, I realized that the red colors on my other signs didn't quite match.  So, I decided to give things a little makeover. 

This sign below has been a "washroom" sign for quite a while.  I liked it, but I wanted a change, and this was a quick one.  Take a look at my original post here for a tutorial.  I  used the same method, a vinyl stencil, for this "Enjoy" sign. 

The great thing about distressed signs, is that there is PLENTY of room for error, and anytime I want to change the words, I just paint over everything underneath!


I repainted some of the words and background on my daughter's sign.  The kids LOVE having their own signs.  The original was brown/orange, and I am loving this update with blue/red-ish.   It matches my new "B" better, and looks more retro to me.  Take a look at my original post here

Somehow, I spend a lot of time in the kitchen (life of a mom, right?) - so it is fun to have a kitchen wall that I love looking at.  If you have a blank space anywhere that you are trying to fill - try painting yourself a sign - they are really fun!

image signature

March 4, 2013

Wooden Growth Chart


For mother's day last year, I made my mom a growth chart to track her grandkid's heights on.  It was made out of canvas - check it out here.

Ever since then, I have intended to make a growth chart for myself.  My kids kept asking if they could measure themselves.  Then, after we had our 3rd daughter, my husband was saying he thought it would be fun to compare their heights at certain ages.  So, I finally grabbed a piece of scrap wood and made a quick one for myself!


I cut vinyl with my Silhouette to use as a stencil.  I made a mark on the left side of the wood at every inch, at the edge of the wood and 1 inch from the edge.  I decided I wanted to stencil only the odd numbers.  I lined the left side of the number up with the mark I made 1 inch from the edge.  The large numbers (marking each foot) were 3 inches from the edge. 

I dabbed a little black paint onto each stencil and then peeled off the vinyl when it was dry.

I used a ruler and a paintbrush to paint the lines.  It was an easy way to measure the length of the line, and paint it nice and straight.  I used the pencil marks I had already made to know where to paint the lines.  The lines at the odd numbers were shorter, and the lines in between (representing even numbers) were a little longer. 


Luckily, I was able to look at their little blue immunization booklets to get their heights at various ages.  I used my $1 alphabet stamps from the craft store, and a brown ink pad, to print their names and ages at the correct heights. 

I realize that it is not as tall as you usually see them.  I only had a 4 foot piece of scrap wood...but since my babies came out at 20 inches anyway, I figured I could start at 22 inches and it would still work :)  It is now hanging in the girls room, and it really is fun to compare their heights!

So, it's never too late to make one - and I think our kids will love looking at it in years to come!
image signature

February 20, 2013

Satin Flower Hair Bows

Is she the sweetest thing in the world, or what? :)
And she makes a great bow model!

The other day I did some crafts with some friends, and these satin flowers were one of the crafts.
I have seen and admired them before, but this was the first time I had made them.  I wish I had done it sooner!  They are pretty, and super simple!

It takes a small amount of satin fabric to make one bow.  Cut 5-8 rough circles, big to small, so that you can ultimately stack them. 


Run the entire edge of each circle through a flame.  Suggestion: hold the edge above the flame.  It is hotter than in the flame, and keeps the satin from burning, or getting scorch marks. 

Here is what they look like with pretty melted edges. 

Stack the circles to make the flower:

Stitch a few times through the center of all the circles to hold them together.  I sewed a button into the middle, but you could also hot glue beads or whatever embellishment you want into the middle. 

I hot glued a clip onto the back of one to use on my older girls. 
I made a few other flowers into headbands with ribbon and elastic for my baby. 


And here's another shot of ultimate cuteness!


I saw someone make these into pins, which they put onto a colorful scarf.  They looked AMAZING that way too! 
So run and get yourself some satin, and make a bunch of pretty flowers!
image signature


February 13, 2013

Monster Valentines


Happy Valentines Day!

I had the fun of making Valentines with my daughter for the first time to hand out to her Kindergarten class!
I had so many ideas for her (she wanted candy with it of course) - and somehow we decided on these monsters.

The inspiration actually came from a Halloween post at The Fickle Pickle - where they have these eyeballs you can print out...

We taped them on to chocolate kisses, and put a few into plastic bags.

I made these pictures and sayings in word - "I only have eyes for you, Valentine!", and printed them onto cardstock so that they could be folded over and stapled to the top of the plastic bag.


My daughter had a great time coloring the monsters and writing her friend's names.  It was so sweet how thoughtful she was.  She made some monsters look like ninjas for the boys who liked ninjas, and some look like cats for the girls who liked cats, and some were her friend's favorite colors.  It was a great project for her, and she can't wait to hand them out!

image signature

February 9, 2013

An ART Birthday Party


My little sweetie just turned 6 years old!
We had a small party at home, with a few friends, and lots of color and art projects...

I designed an invitation on the computer.  Each was a simple 1/2 page, folded in half and cut into the shape of a paint palette.  
Below is the progression of how I made it, and above is a picture of the cover, which I let my little 6 year old paint with water colors before we mailed it out.  


I wasn't kidding when I said everything was colorful!  
My daughter and I decorated the wall by the craft table with a colorful paper collage
The bright tablecloth was the background for construction paper place mats and a paint chip table runner.  Paint chips were used liberally in our party - because they are colorful and FREE!!!


We made little easel place cards for each guest out of popsicle sticks and paint chips.  The popsicle sticks are hot glued together, and my daughter wrote her friend's names before we glued those on.


The first thing the kids did when they arrived was decorate their goodie bags -- we had stickers, stencils, crayons, and colored pencils available for them to use.


One of the things we put in their goodie bags were these little notebooks.  Surprise, surprise - paint chip covers :)  Check out my inspiration here.  I have access to a machine that does the spiral binding, but you could use rubber cement glue to make a notepad - like I did here.  

We also made paint chip bookmarks.  I cut these down from larger paint chips, glued two together back to back so there was color on both sides, punched a hole and tied a string through it.  The kids decorated these with stickers too.

The highlight was, of course, decorating cupcakes.  I made frosting in 5 different colors, and let them each decorate a few (1 to eat and 2 to take home) with a ton of different toppings.  


We also ate colorful goldfish and these jello cups that I made by layering a bunch of different colors/flavors of jello.  The opaque layers have cool whip in them.  Word to the wise: start this project a day or two in advance of the party.  You have to wait for each layer to set before pouring on the next, and waiting takes a while ;)


We did play pin the paint on the palette - even though I thought it might be a bit too young for them.  My daughter really wanted to though.  Sure enough, they were all really smart, and felt for the top edge, and one after the other stuck their paint splatter on top of everyone elses :)  At least it was fun to make everyone dizzy first!


I got some ADORABLE pictures at our little photo booth.  I cut circles out of paint chips, and sewed them together in strips for the background.
The mustaches were left over from the Pirate Party LAST year!!  The beret is two pieces of felt hot glued with cardstock in between to hold it straight.  The sticks are chopsticks.
And the gold frame I had around from something else.
The little chalkboard is made from an old picture frame also - with chalkboard paint on the glass.
I'm so glad we took these!  The kids had fun rotating through the props, and I sent a few pictures home to each child along with our thank you notes.


We ended the party playing with playdough on the floor (at this point, the table was seriously messy!).
They played until their parent's came, and they also took some colorful playdough home in their goodie bags.  Here is my recipe for perfect playdough - just add tons of food coloring!

We had such a great time doing art projects and playing with a few friends.  Not pictured here, we painted little accordion books with watercolors, which they also took home.  
I have to give a big shout out to my friend Vanessa - who threw an art party for her daughter last year.  I borrowed liberally from her ideas - so creative!
I also have a "Birthdays" Pinterest Board with some other great ideas.  
All in all, I think it was a success!!
Happy Birthday Sweetheart.

image signature