Pages

April 30, 2013

Personalized Clip Boards


Working at a religious school, I've made quite a few Teacher Appreciation gifts in the past - and it has been fun to do different things.  I've made pencil bouquets, magnets, clocks, and more - you can check out my "Teacher Appreciation" section on my "Tutorials" page for pictures of all of those!

This year, I made Personalized Clip Boards - over 50 of them! - and they turned out great.

To personalize them, we had the students do an acrostic with the teacher's name.  We always love getting the students involved!  So, for each letter of the teacher's name, the students came up with a word or phrase describing their teacher, that started with that letter.

I then took the wording and created a different configuration for each name on the computer.  This made it easy to print the names right onto scrapbook paper.
I have a tutorial on how I made the clipboards if you scroll farther down...

My favorite are the ones in the pictures above and below.  The name is horizontal, and the acrostic phrases are in blocks below each letter.


I also made some with the name vertical...


I got some great honeycomb paper in the package of scrapbook paper I picked.  I love these honey bee inspired ones below!

And lest you think you can't make a clipboard for a boy, here are a couple of the more masculine designs.  I think they rock!

April 17, 2013

Old Drawer Ottoman


Remember those drawers I picked up from the side of the road the other day??
I posted about making one of them into a wall shelf for my daughter.
With the other one, I made this great storage ottoman for my front room!


Inspiration for this project came from a great blog - Beyond the Picket Fence - where you can see another drawer ottoman.  

To make mine, I had the hardware store cut MDF board into 2 pieces the exact size of the top and bottom of my drawer.  Below you can see the top piece set on the drawer.


April 10, 2013

Velcro Earphone Pouches


I made a couple more earphone pouches for my husband and I. 
I LOVE these things. 

I absolutely swear by these - they are small, and keep your earphones safe, clean, untangled, and easy to find!

Want your own?  Need a small gift for a friend?
You can purchase earphone pouches in my ETSY shop, or


image signature
P.S. Go Ducks!


April 8, 2013

Fabric and Washi Tape Spring Wreath


I made a quick and inexpensive spring wreath yesterday - to add some color to the front door.  It's definitely colorful!

I've had a small wreath form that I got form the dollar section at Target.  I tore strips of fabric, wrapped and hot glued them.


I made some flowers with cardstock and washi tape -- first time I have EVER used washi tape - can you believe it?  I finally jumped on the band wagon and bought some the other day.  Pretty fun :)
You can find a tutorial for the flowers here.


I also made a banner for the middle out of washi tape...

Now come on spring!  We're ready for you!


image signature

April 2, 2013

Service Auction


Recently, we had an evening get together with the ladies of a women's organization I'm a part of called the Relief Society.  We decided that, in honor of the Relief Society's 171st birthday, we would have a Service Auction.  It was a HUGE hit!  I worked with a small group of women to organize the event, and I wanted to document some of the specifics of the night...

A couple weeks in advance, we handed out invitations.  Pictured above, they were auction paddles made out of large popsicle sticks and cardstock.  There was a number on one side, and the invitation specifics were on the other side (date, time, etc.).

We asked people to bring their paddle with them on the night of the auction, but had extras the night of for anyone who forgot.  Everyone got to use their paddle to bid - real live auction style!

We found this idea, and many others for our event, on a blog called Mishmash Mom.  Be sure to check out her post too!


A couple weeks in advance, we invited everyone to donate a service item. We setup an online "google doc" for people to sign up on.  There was a space for their name, and what they were donating.  We also included a list of possible donation items to give people ideas.  We had a great response!  We emailed a link to the list a couple of times, and allowed people to sign up last minute as they came to the event.  We ended up with over 50 items!  Many people gave more than one thing.  Here is a list of some of the things that people donated:

Ride to/from the airport (after bedtime/before dawn)
2 hours of housecleaning
Family Photo Session (or just your kids, or just you!)
Haircut and style
Babysitting- an evening or Saturday daytime
Made-to-order red crocheted scarf
45 min Aroma Touch Massage
Amber & turquoise necklace
16oz of our own local honey- harvested in June
Four quarts of soup
French Lesson
Photography Class
Personalized wood sign
Clean out your fridge!
Shellac Pedicure/Manicure
Special Occasion Cake
Custom Birthday Invitations & Decorations
Authentic Mexican Enchiladas
Your entire family's haircuts in your home
Homemade pie: lemon meringue or pumpkin
Homemade strawberry ice cream
Homemade Boston Cream Pie
Mint brownies
Homemade Bread (bread-making class optional)
6 crocheted flowers, hearts, and/or butterflies
3 Handmade Hair Ribbons
Resume review or job interview prep session
2 crocheted cotton washcloths
Frozen cookie dough

Some people brought items the night of (frozen cookie dough, bread, hair bows), but most was for delivery on a later date.

Before the event, we organized the list to put a few "hot ticket" items at the beginning, so that people were not saving all their points for items at the end.  We wanted a lot of bidding, and figured that if people were "holding out" for big items, we wouldn't get as much action throughout.

The donation list was printed and brought to the event and people continued to sign up as they arrived.

Right before the auctioning started we made a bunch of copies of the list to hand out so that people knew what had been donated, and the order that things would be auctioned off in.  


We had some festive colored plates, balloons and tissue paper banners as decorations on the night of.  We had dinner before the auction, and offered a baked potato/salad bar.  It was delicious!


When people arrived and got their food, we had them fill out the Service Auction Questionnaire, which was available at each place setting, along with a pen.  The results of the questionnaire gave each person the points they would bid with.  Here's how it worked:

There were about 100 questions, on both sides of one piece of paper.  Each question had a "yes" or "no" answer, and each "yes" answer was worth 10 points.  This made it easy for everyone to add up.
People had point totals ranging from 400-700 points, and they kept track of their own points.  We made a rule that people could not combine points.

As they bid for items and won, they would subtract those points from their total.  It was all on the honor system.    Some people did win more than one item, which was fine because we had more items than people in attendance.  And typically, for a big ticket item, someone had to use all of their points anyway.  So, people generally got one "big" item for all their points, or split up their points for a couple of "smaller" items.  It worked out really well.  It kept the bidding lively and fun.
To see a copy of the questionnaire, click here.  


A big part of the night was having an amazing auctioneer!  

We had the husband of one of the ladies in the group act as the auctioneer.  He had a real gavel, a fast pace, and some great jokes.  We seriously won the jackpot with this guy :)  I would definitely suggest getting a good auctioneer!!  

First of all, with over 50 items, we were a little worried about the time it would take.  Our auctioneer could talk fast, and kept the auction moving very quickly.  Bidding was never allowed to lull before the item was pronounced "sold!"  As soon as one item was finished he went right into the next item, no pause.  This worked well for time, but also worked well because it never felt like any item wasn't being bid on.  Even if only 2 people bid, it all happened so fast, that it felt really lively.  All together, the bidding went for just about an hour, which was perfect!


For early items, we started the bidding at about 80-100 points.  As we got further down the list, we lowered the starting bid to about 40, because most people had used a large portion of their points, and it was natural to lower the starting bid price.  

We had one person keeping a master list of items won.  Using one of the copies of the items available, she wrote down the name of each person who won, and also handed them a card that had info on the item they won, and how to contact the person who donated the item.  After the event, we emailed the master list of winners out to everyone.  


There were a lot of logistics, but we had such a great time - and our event was a huge success!!  We were so happy to give people the opportunity to serve others, and share their talents.  We hope that new friendships are formed, and new acquaintances made through these acts of service.  We were very happy that all the items were bid on, and appreciated.  We were impressed with the items donated, and how kind and energetic everyone was at the event.  


Hopefully this will give you a few good ideas if you are planning your own service auction!  Personally, I am very thankful that I was given the opportunity to serve someone else by sharing my talents, and have such a fun time doing it!

image signature

March 25, 2013

Old Drawer Wall Shelf


Have I mentioned how much I love New England ;) (About a million times, right?)
I picked up a few desk drawers off the side of the road about a week ago, and they were in great condition!  I've been working on a few projects with them, and this is the first one I finished.


We've had bunk beds for about 6 months, and my oldest daughter is on the top bunk.  She likes to have water, and books, and other little things up there with her - but they've never had a place to live.  She just keeps them tucked into the corners of the bed, or under her pillow :)

When I saw this drawer, I was excited to make it into a little shelf to hang up by her bed!


I painted the inside walls with a bright color acrylic paint that matches her room.  I used masking tape to create clean lines on the outer edge.  I let her pick out scrapbook paper for the back, and after cutting it to the correct size, used spray adhesive to adhere it.

If you look at the very first picture you'll see the D-ring hangers I attached to the drawer.  They hang on screws in the wall - and it feels pretty secure up there.


I LOVE repurposing things - and this little drawer looks so cute up there!  Now there is a place for all my daughter's little treasures...and she doesn't have to sleep on them :)

image signature

March 18, 2013

Little Wooden Houses


I made these little wooden houses for a friend. 
Quick and easy, check out the original post here.

image signature

March 17, 2013

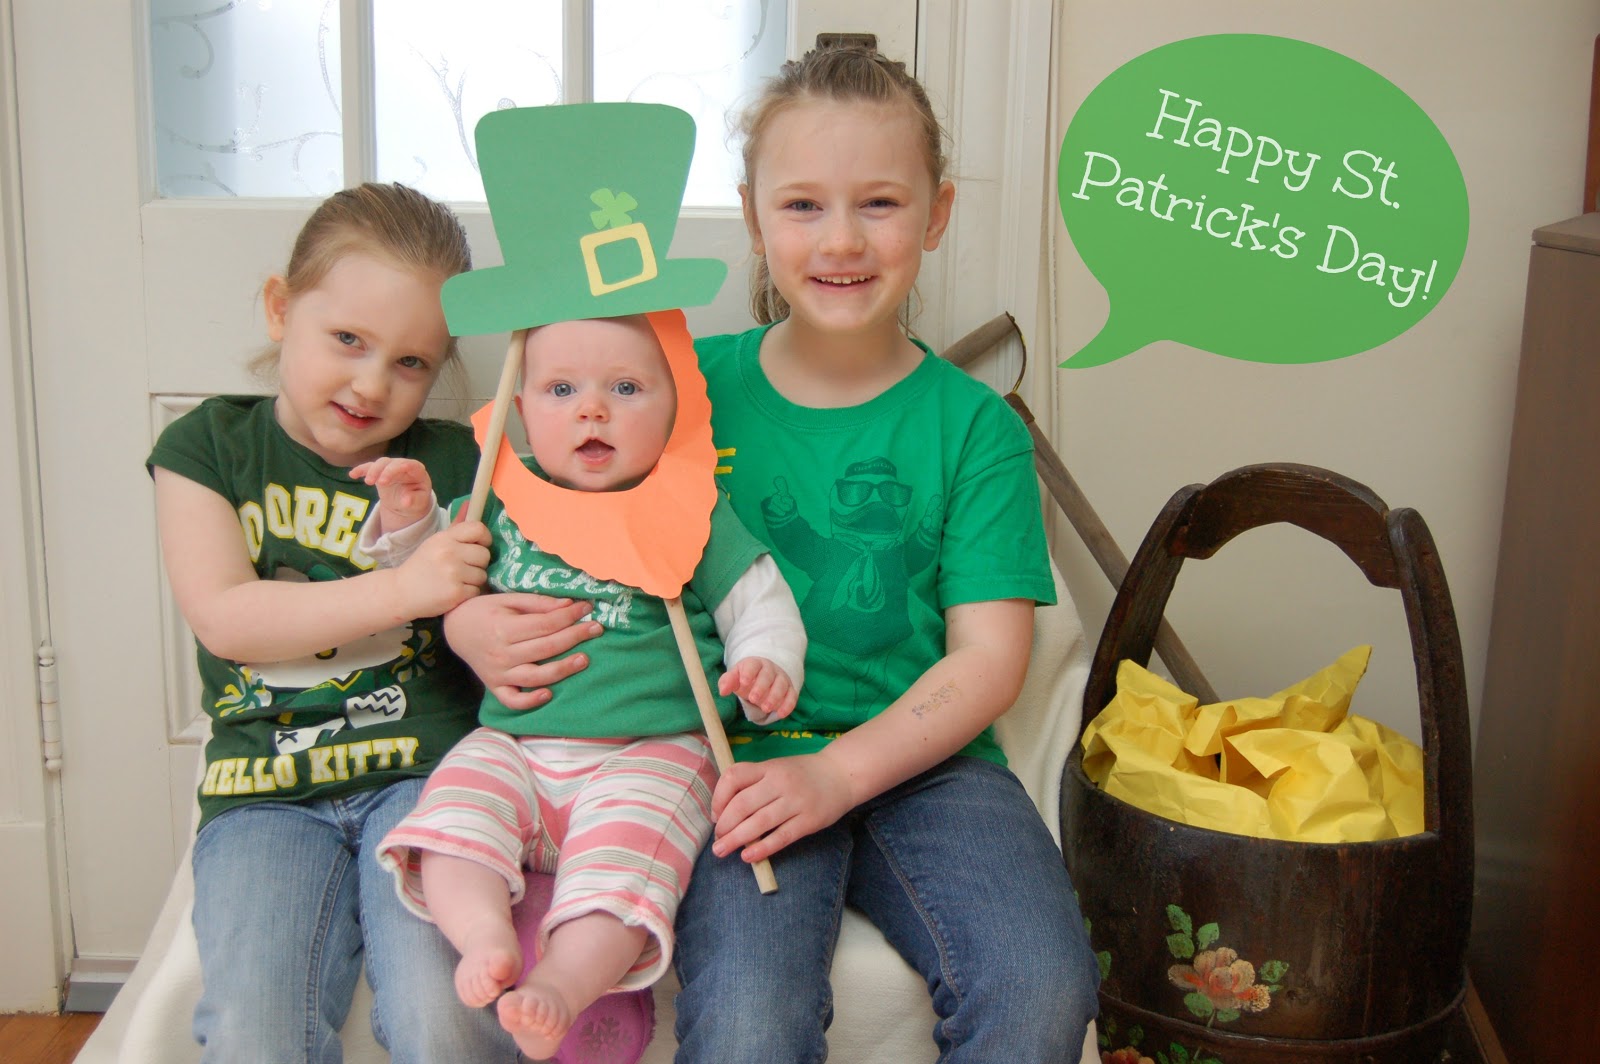
We Caught a Leprechaun!


image signature

March 11, 2013

Kitchen Wall Signs


I recently gave the signs in my kitchen a little facelift, and I wanted to share! 

Just last week I picked up this amazing vintage metal letter at a darling farm store here in Massachusetts -- the farm is celebrating its 300th birthday!! 

They had a few old things for sale, and I am so glad I didn't pass this letter up - I LOVE the way it looks in the kitchen!  The color is awesome - the chippy-ness is charming...and it is our last name initial, which is cool. 
Buying antiques here in New England is so much fun, and I am still giddy about this one!  It is big, and heavy, and it has little grooves in the back so I can easily hang it wherever I want.

Once I got it in the kitchen though, I realized that the red colors on my other signs didn't quite match.  So, I decided to give things a little makeover. 

This sign below has been a "washroom" sign for quite a while.  I liked it, but I wanted a change, and this was a quick one.  Take a look at my original post here for a tutorial.  I  used the same method, a vinyl stencil, for this "Enjoy" sign. 

The great thing about distressed signs, is that there is PLENTY of room for error, and anytime I want to change the words, I just paint over everything underneath!


I repainted some of the words and background on my daughter's sign.  The kids LOVE having their own signs.  The original was brown/orange, and I am loving this update with blue/red-ish.   It matches my new "B" better, and looks more retro to me.  Take a look at my original post here

Somehow, I spend a lot of time in the kitchen (life of a mom, right?) - so it is fun to have a kitchen wall that I love looking at.  If you have a blank space anywhere that you are trying to fill - try painting yourself a sign - they are really fun!

image signature

March 4, 2013

Wooden Growth Chart


For mother's day last year, I made my mom a growth chart to track her grandkid's heights on.  It was made out of canvas - check it out here.

Ever since then, I have intended to make a growth chart for myself.  My kids kept asking if they could measure themselves.  Then, after we had our 3rd daughter, my husband was saying he thought it would be fun to compare their heights at certain ages.  So, I finally grabbed a piece of scrap wood and made a quick one for myself!


I cut vinyl with my Silhouette to use as a stencil.  I made a mark on the left side of the wood at every inch, at the edge of the wood and 1 inch from the edge.  I decided I wanted to stencil only the odd numbers.  I lined the left side of the number up with the mark I made 1 inch from the edge.  The large numbers (marking each foot) were 3 inches from the edge. 

I dabbed a little black paint onto each stencil and then peeled off the vinyl when it was dry.

I used a ruler and a paintbrush to paint the lines.  It was an easy way to measure the length of the line, and paint it nice and straight.  I used the pencil marks I had already made to know where to paint the lines.  The lines at the odd numbers were shorter, and the lines in between (representing even numbers) were a little longer. 


Luckily, I was able to look at their little blue immunization booklets to get their heights at various ages.  I used my $1 alphabet stamps from the craft store, and a brown ink pad, to print their names and ages at the correct heights. 

I realize that it is not as tall as you usually see them.  I only had a 4 foot piece of scrap wood...but since my babies came out at 20 inches anyway, I figured I could start at 22 inches and it would still work :)  It is now hanging in the girls room, and it really is fun to compare their heights!

So, it's never too late to make one - and I think our kids will love looking at it in years to come!
image signature