Pages

October 11, 2011

Personalized Note Pad


Pin It

My daughter recently went to a little friend's birthday party.  We love giving art supplies as gifts, and got her some magic writing markers, and some other small things. 
Instead of including a coloring book, I thought it would be fun to make a personalized pad of paper!  At their age, it is so fun to see their name in print - and my daughter loves to make her own pictures, instead of always coloring in a coloring book.

And, these are really easy to make!

1) I took some nice thick paper and printed "made by [name]" on the bottom of both halves - so that I could cut my paper into 2 pieces...
I made this pad of paper tall and skinny, but you could make any size pad of paper - even really small pieces would be fun.  I just typed the words into a word document in the correct place based on where I wanted to cut the paper...

2) Line up the stack of pages and clamp them tightly together.  You could use binder clips for this too.


3) Buy rubber cement (I found this at Target in the office supplies aisle).

4) Paint 3 - 4 coats of rubber cement on the top edge of the stack of papers.  Let the glue dry completely before painting the next coat. 


And it is that simple!  The paper stays together and each page rips off the stack cleanly and easily. 


So go make a little friend happy with their own personalized pad of paper - or make one for your girl friend for her birthday, with a pack of colorful pens - or just make one for yourself!  They are addicting :)

image signature

October 2, 2011

Dragon Hoodies


Pin It


Perfect for cooler fall weather, and the Halloween spirit, this weekend I made my girls these fabulous Dragon Hoodies!  (Or dinosaur - whatever floats your boat)

I was a dinosaur (or dragon) for Halloween last year, and made these dragon tails which now go with these hoodies perfectly.  When I saw these hoodies with a tutorial here at Just Sew Sassy - I knew I wanted to make some for my kids. 


I found inexpensive hoodies at Target, and used scraps I had around the house for the rest.


For my younger daughter, I used the purple fleece, and for my older daughter I used the pink flannel (I even sewed ricrac on those pink scales!)  I would say though, that the fleece looks better when all is said and done.  It is thicker and stiffer - and stands up better.  I had the flannel on hand though - so I used it, and it is still cute :)


This project took me seriously - 20 or 30 minutes.  That's it!!   So, if you are in one of those moods  (like me) where you want to complete a quick and satisfying project - try this one!   
The kids won't take them off :)


image signature


September 29, 2011

Halloween Directional Wooden Post Sign


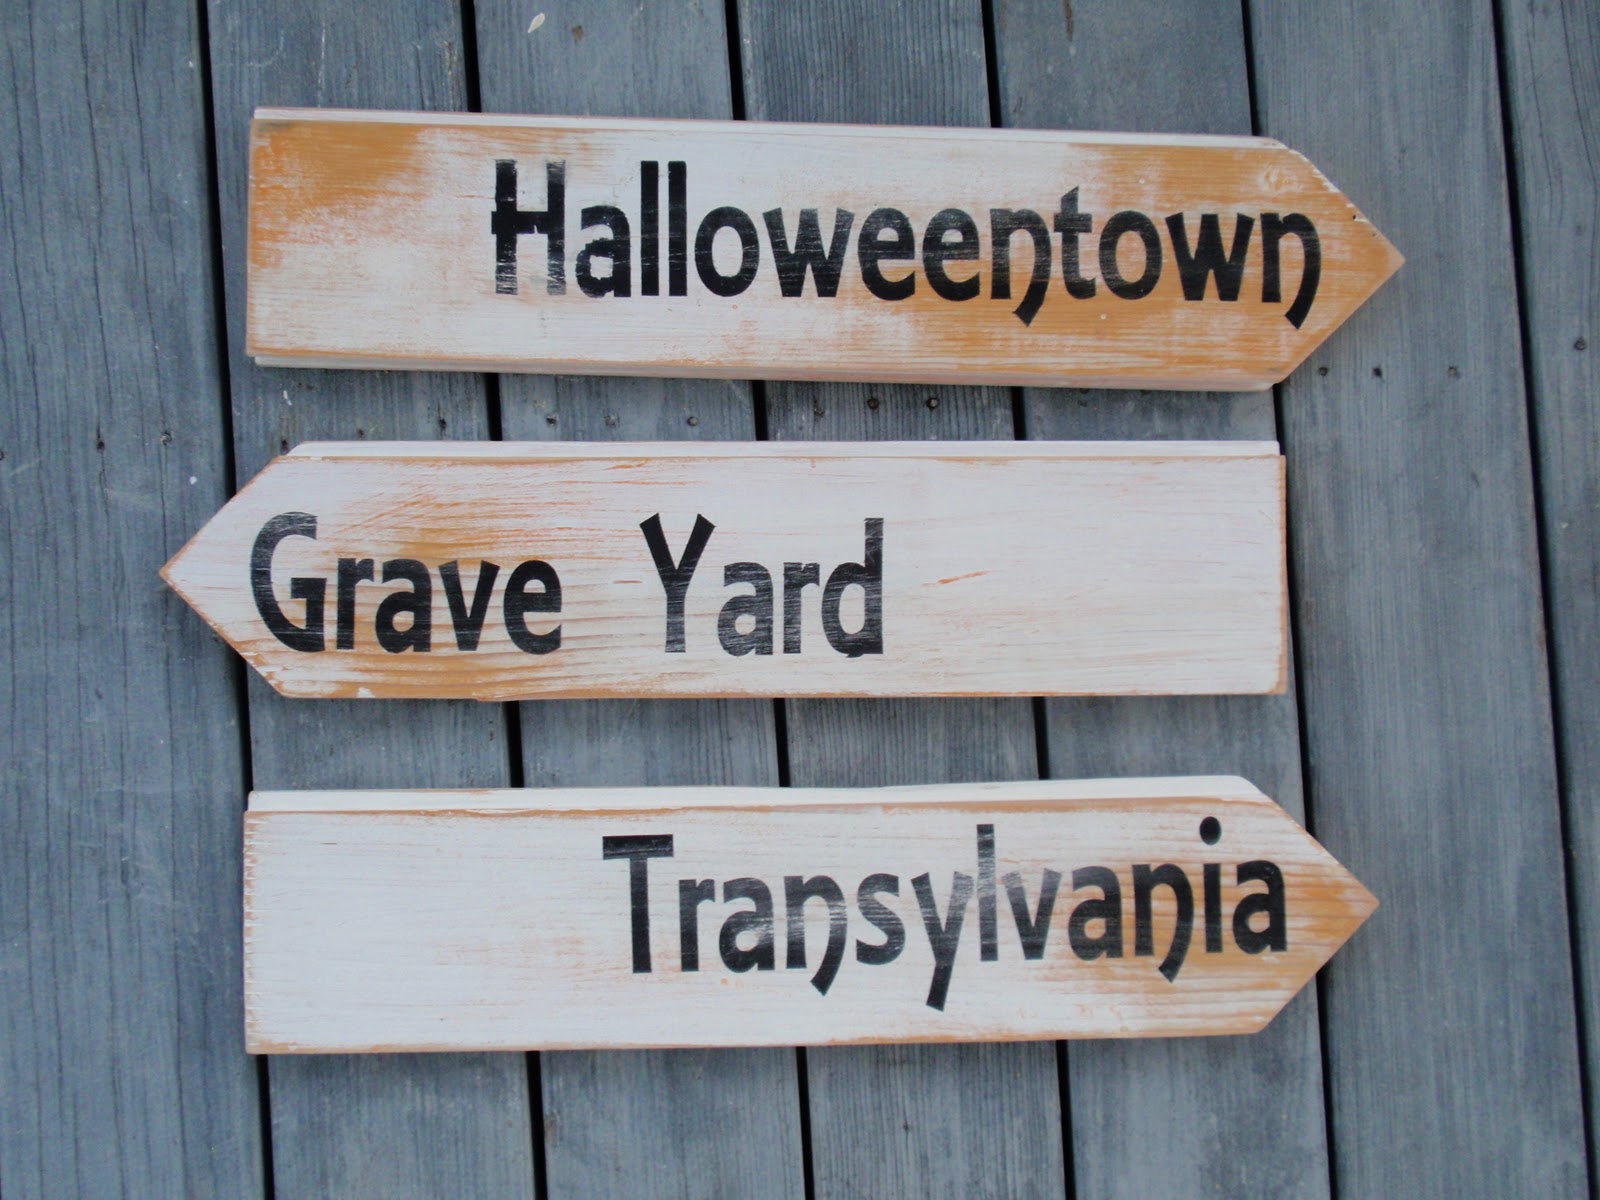
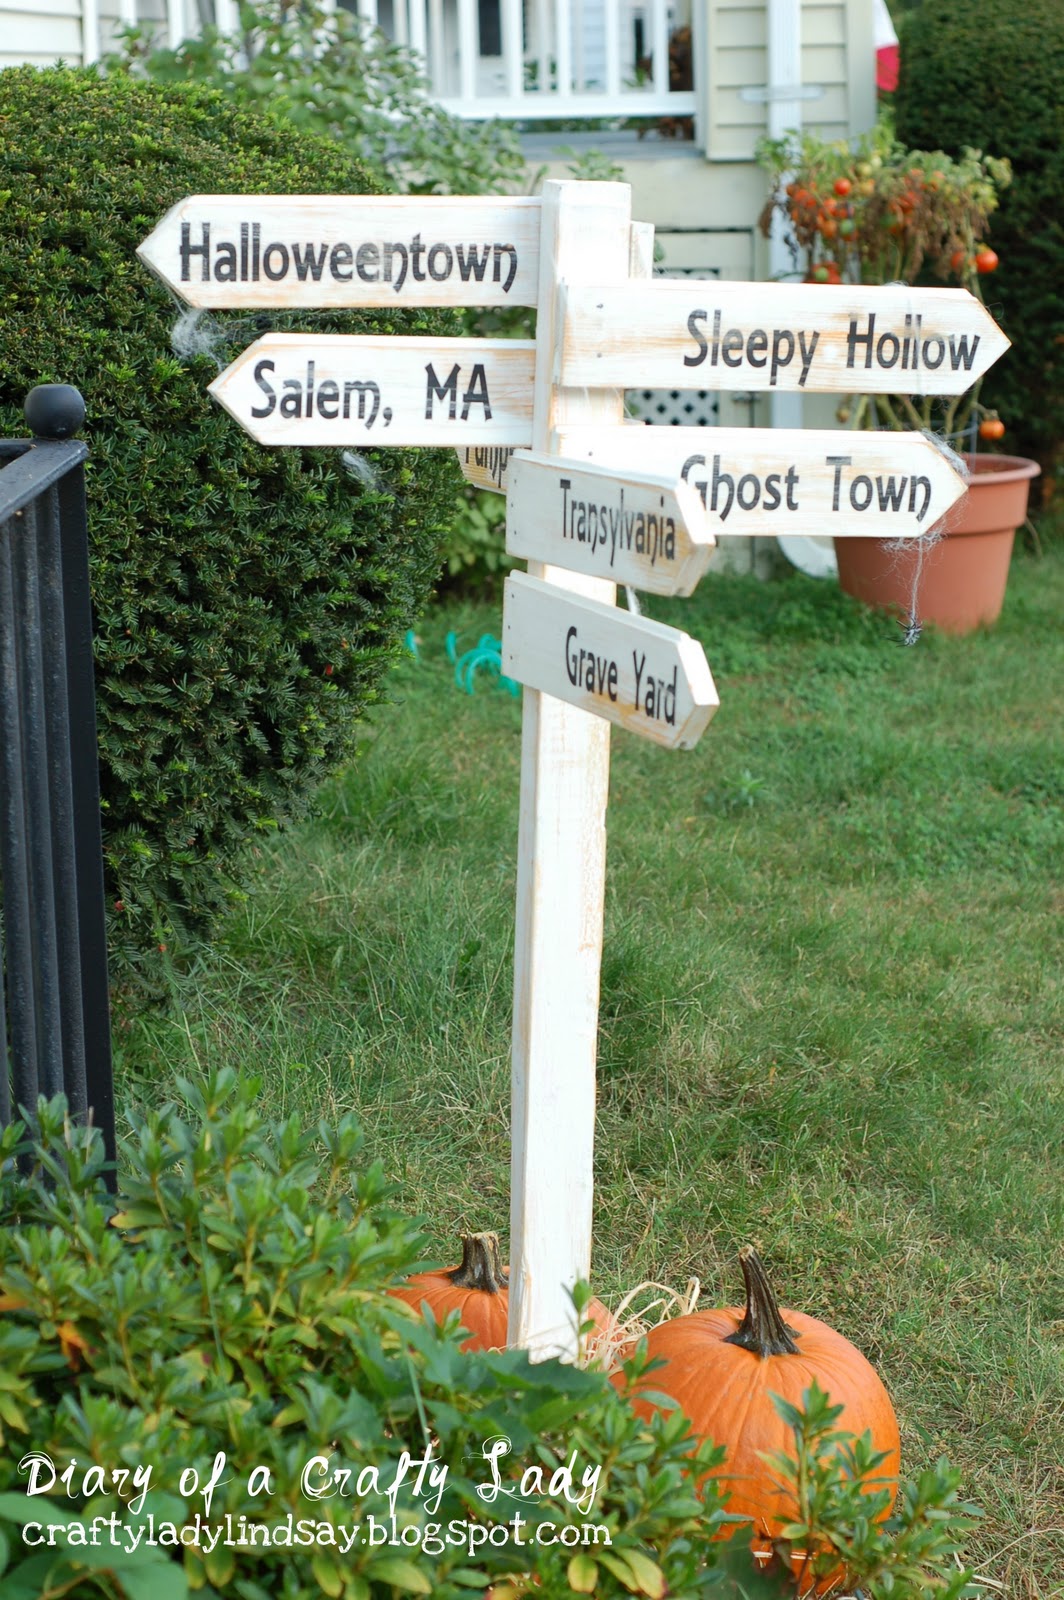
I have been wanting to make a directional Halloween sign for a long time.  I have been brainstorming the places to put - like Pumpkin Patch, Grave Yard, Transylvania, Haunted House, Halloweentown, Sleepy Hollow, Salem, MA, Ghost Town...and I am sure I could think of a million more. 

It wasn't until I got this beauty here for my birthday though, that I finally got around to making it...
Can you believe how lucky I am!?  A compound miter saw, just for me! (Okay, so maybe I will let my husband use it too :)  )


I picked up a bunch of wood from the scrap pile at Home Depot (which I highly recommend).  All the wood for this project only cost me $2.50!

And look at all these beautiful 45 degree angles I cut :)


I wanted a really distressed look, so I painted all the wood roughly in orange...

Painted over that with white...

Sanded it all down for a distressed look...

Stenciled on the words (using vinyl cut from my Silhouette)...

Gave it another quick sand...

And nailed it all together....

 Each board is about 14" long... The post down the middle is a square piece, probably 4 feet tall...


It is SUCH a fun Halloween accessory - for outdoors or in!  And really, this would be fun to make for any holiday - or birthday - or wedding...
So go hit up the scrap wood pile and make yourself one!


image signature
Follow me on Facebook


September 24, 2011

Halloween Spider Clock


I have been coveting this clock for a long time - ever since I saw it last year here on this blog.
It is so clever, and spooky, and festive!!


When a friend was getting rid of this clock...I snatched it!  I love the shape, and the depth, and I knew immediately that I wanted to use it for this Halloween clock project!


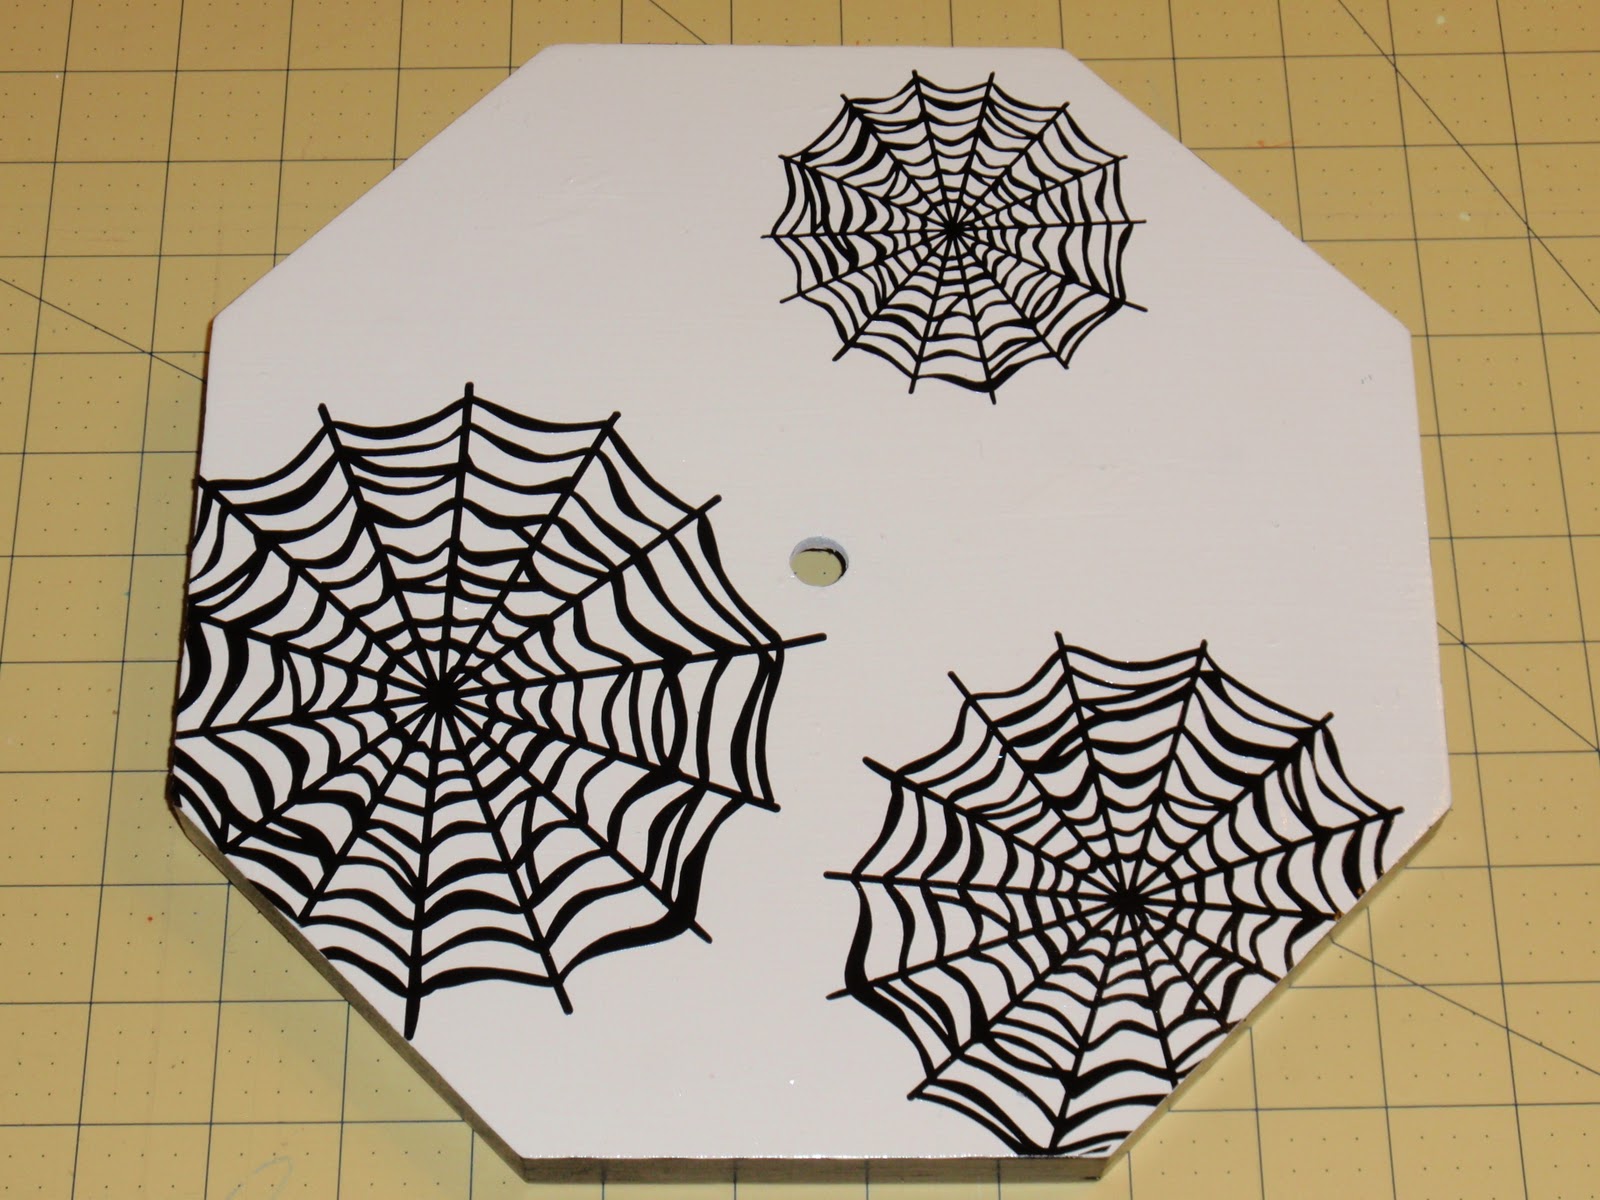
After a bit of sanding, and a bit of paint, all I had to do was add the vinyl spiderwebs and glue on the plastic spiders.


You can find the clock workings at the craft store - and seriously, I have seen people make clocks out of ANYTHING... so don't be afraid to try it!


I just love how spooky it is!  Happy Halloween!


image signature

September 14, 2011

Snape, Snape, Severus Snape!


My daughter loves Harry Potter.  I seem to be saying often how much she loves things :)  What can I say, she is a sweet 4 year old who really gets into stuff!
We have let her watch a couple of Harry Potter movies, she plays Harry Potter Lego with my husband on the Play Station, and she has her own wand that my husband made for her out of a stick....she is a serious HP fan :)

When I saw this shirt pinned on Pinterest, I knew I had to make one for her.
If you don't know the reference, check out the Potter Puppet Pals, here on Youtube...a must see...
my children can often be heard singing the song from that video. 


I used the Freezer Paper Stencil method again, as I did here...which is to cut the freezer paper (I used my Silhouette) and iron it onto the fabric...


I painted it with black fabric paint, so that it was not quite perfectly covered, to look a bit worn and weathered.

She LOVES it!  The shirt was only $5 at Target - and so easy to make.  So next time you see a t-shirt that you like, especially ones with just a few words on them, try this out!!


image signature

September 8, 2011

Burlap Wrapped Glass Holiday Silhouettes


Halloween projects already!  Wow!
Well, I normally don't have it together 2 full months before a holiday - but I have had this project in mind for a while.  A loooonnnnngggg while :)
Back in February, I made this Valentine Wreath with a picture frame.  The project left me with a homeless piece of glass.
Then, in March I made some teacher appreciation clocks.  Making 40 clocks, some were bound to not work - and I was left with round glass too....


I just couldn't throw the glass away - so I decided to repurpose it!
The edges of the glass are sharp, so I wrapped the edges in burlap.  I took 2 inch wide strips and hot glued them along all the edges of the rectangular frame - leaving raw edges for texture:


September 3, 2011

Sewing Machine Cover


My poor sewing machine has been sitting out too long without a cover.  I dearly love my sewing machine - so I decided it was finally time to show it the love, and make it a pretty cover!

I very loosely followed this tutorial here, however I could not get the measurement link to work - so I had to wing it...

I erred on the side of too big, because I figured that having a loose cover was better than having a tight one - don't you think?

So, I measured my sewing machine at its widest points, and pretended that it was a perfect rectangle - when in actuality it gets skinnier at the top (don't we all).


I cut one big piece to go over the front, top and back. 
With the measurements you see above (which were already generous) I added together 12" for the front, plus 12" for the back, plus 7" for the top, and 1" for seam allowance.  So, my big piece of fabric was 32" long by 17" wide.  (17" is the width of the sewing machine, as seen above).

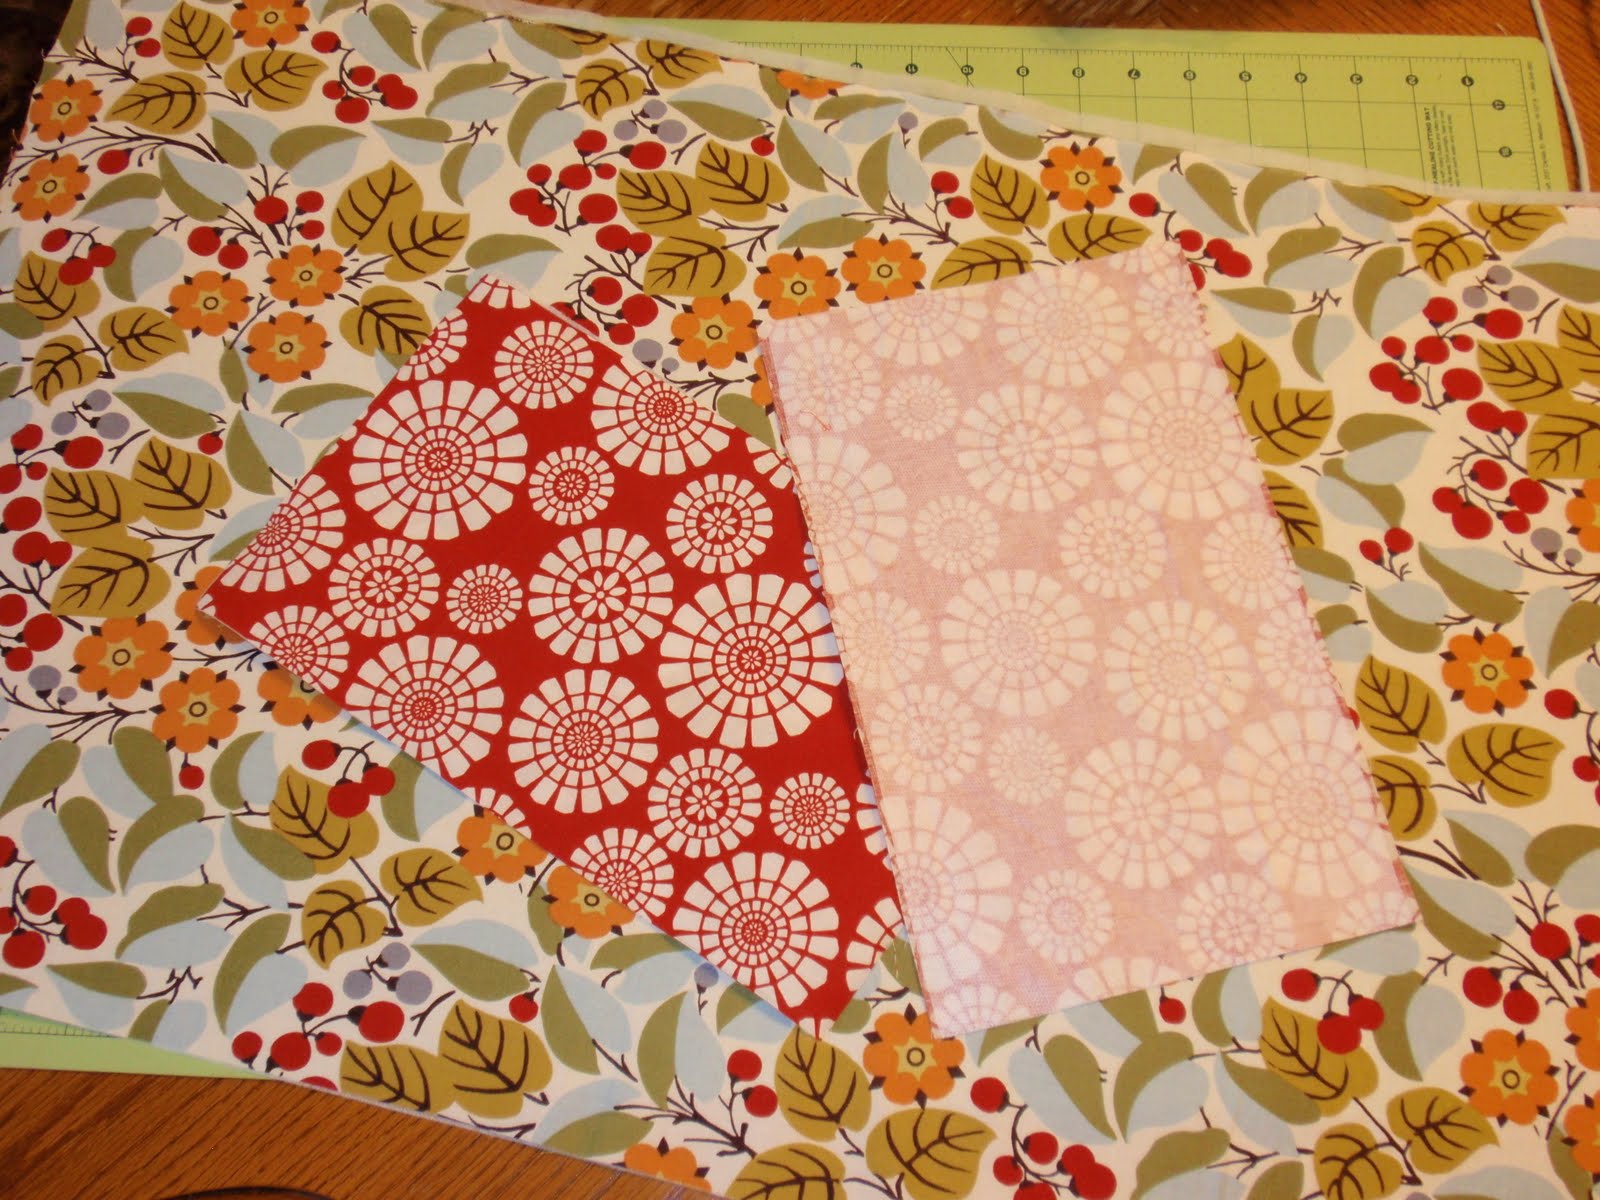
I cut two side pieces in a coordinating color, 7.5" wide and 12.5" tall (the extra .5" on the width and height account for the 1" seam allowance I added to the big piece). 

I also cut lining fabric and interfacing in the same dimensions.

So, to recap:
1 big piece of fabric (for the outside) - 32" x 17"
2 coordinating pieces of fabric (for the outside sides) - each 7.5" x 12.5"

3 pieces of lining fabric - 1 piece: 32" x 17",  2 pieces: 7.5" x 12.5"

3 pieces of fabric interfacing - 1 piece: 32" x 17", 2 pieces: 7.5" x 12.5"

Below is a picture of the outer fabric, with the interfacing ironed on:


Sewing the big piece to the sides is done like so:

1) Mark the center of the big piece of fabric, along the long edge, with a pin. 
2) Mark the center of the side piece of fabric, along the short edge, with a pin.
3) With right sides together, match up the center pins and pin the pieces together.


4) Sew (using 1/2" seam allowance) the two pieces of fabric together, however DO NOT sew all the way to the edge of the side piece.  As you can see in the picture below, you want to leave just under 1/2" unsewn on each edge. 
5) Use your scissors to cut a small line, slightly less than 1/2" down, and right next to the side fabric. 


5) This little cut allows you to easily turn the edge of the side piece to meet the remaining long edge of the big piece (review the picture beneath step 3 to see what I mean).

6) Pin the edges together and sew with 1/2" seam allowance.

The picture below shows the top and one side sewn together...
You will want to do the same with the other edge of the side piece.

Then repeat steps 1- 6 for the 2nd long edge of the big piece of fabric.

You will want to sew the lining the same way - however LEAVE A 2 - 3" gap in the seam along one side.

Below is a picture of the gap I left so I could eventually turn my cover right side out:

Turn the outer cover right side out, and leave the lining inside out.  Put the lining over the outer cover, so that right sides are together.  Align the bottom edge and pin all the way around.  Sew all the way around the bottom edge with a 1/2" seam allowance. 

Turn the cover right side out through the hole you left in the lining.  You can see my hole in the picture below.  Once it is all turned right side out, sew the hole closed either by hand or with your sewing machine. 

Here you have a choice.  You can iron your cover so that you can't see any of the lining, or you can iron your cover as I did, with the lining sticking below the seam a little bit.  I like the contrast in color that it adds. 
I ironed it with about 1/2" of the lining showing, and then I sewed around the bottom edge again, through the lining, right next to the seam. 

I am delighted with the cover - it suits my sewing machine very well!  With this simple pattern, it took very little time to make, and was very forgiving!
So be sure to show your sewing machine some love (if you haven't already) and protect it from the dust, grime and filth of the outside world with a pretty fabric cover ;)

image signature
Follow me on Facebook