I am on a headband kick - and these ones are very fun and easy.
Pick a couple of fun fabrics in coordinating colors - you need the length to be about 1 yard for adult headbands.
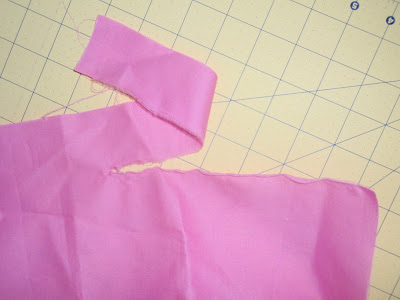
Make a snip about 1 - 2 inches wide, and TEAR your fabric. It is amazing how cool this ends up looking, and how it comes out in a straight line! If your first tear is not straight compared to your edge, make another snip and tear again. The grain will stay the same, but may not be in line with the manufactured/cut original edge.
Lay them on top of eachother, so the wider one is on bottom. If you want to taper your ends slightly, do that now with scissors.
Sew along the edge of the skinnier/top piece of fabric, leaving about 1/8" seam allowance. Sew two or three times up each side, letting your line wave and cross to accentuate the shabby look. I used a dark, contrasting color, because this not only keeps the pieces together, but adds a decorative element.
Now to add flowers. There are about a million and one tutorials for fabric flowers out there, and any number of them would look good on these headbands.
I will show you how I made the ones in the pictures here.
Tear a piece of fabric about 1" wide and 1 foot long.
Tuck the end under and start to twirl the fabric in a circle.
You can twist the strip as you go if you want, but just make a tight little pinwheel.
I dont pin them down, I just smoosh them with the presser foot of my sewing machine. Then, again with a dark, complementing color, I sew in a spiraling circle all along the flower.
I twist and twist my headband, sewing the circle tighter and tighter, catching the layers of the twirly flower as I go. Do this with 3 or 4 flowers, overlapping each flower a bit if you want, sewing each individually. It ends up looking like this:


No comments:
Post a Comment