Pages

September 29, 2010

Black and White Dresser Drawer Knobs

Here is another set of drawer pulls...these ones for the dresser in our room.  So, I made them monochromatic because that makes them more *adult like* and * sophisticated*....right??
:)
Anyways, I love them. 
Here is my original post - on how to make them.
I added two new designs this time.
A gingham one, and a zebra print one. 

To do the gingham, I made stripes going one way:

And then each time I made a stripe going in the perpendicular direction, I painted the square where two lines intersected, black. 


Hopefully these pictures give you a bit of an idea what I mean.

To do the zebra stripes, I penciled the shapes on, and used my handy embossing tool to paint in the shapes with black paint.
Kindof fun for another hand-me-down chest of drawers!


image signature

September 28, 2010

Smashed Wicked Witch Legs


My father in law used to have a three piece alligator decoration that, when placed on the ground, would look like it was swimming through the floor. 
Every couple of days he would move it around to a new place in the house, and I thought it was so clever. 
 When I saw these Halloween socks at the craft store, I had an idea to make witch legs that my kids could move around the house, to make it look like whatever piece of furniture they placed it under had smashed a wicked witch:)  I think they turned out pretty great!
This was how I did it:
Find a pair of long Halloween tube socks.   
Cut off foot, just above the heal, so that just a straight piece of sock remains.   
Using the shoe template I created here, cut out 4 shoe shapes from black fabric.  Be sure to cut out 2 with the toe facing to the left, and 2 with the toe facing to the right, so that they match up properly to make shoes. 
Take one shoe piece, and lay the cut edge of one sock in line with the top edge of the shoe and centered.  Make marks on the shoe to indicate the width of the sock.   (As shown below)
Now, there are two ways to do this.  One way requires you to hand sew the "shoe laces" on at the end.  The other way allows you to sew the "shoe laces" on with a machine - but makes lining up the laces a little trickier.  I will show both. 

Way 1: With Hand Sewn Laces
With two shoe pieces, right sides together, sew from your mark to the edge of the shoe on both sides with 1/4 inch seam allowance - as in picture below.  Also sew up the line, from the inside part of the line you just sewed to the top of the shoe (that little 1/4 inch part).

With your sock right side out, tuck it inside the shoe and line up the edge of the shoe with the edge of the sock (between your sewn marks).
 Pin the sock to the shoe all the way around, leaving the sock open. 

Sew around the circle with 1/4 inch seam allowance.  Make sure you tuck the edges of the shoe aside as you sew - so they are left poking out as shown below. 
Pull the sock through itself until it is completely wrong side out and out of the shoe.  Pin the two shoe pieces together and sew all the way around the shoe with 1/4 inch seam allowance. 
Using the hole at the top of the sock, pull the entire sock and shoe right side out.  Use an unsharpened pencil or closed scissors to carefully push out all the edges of the shoe.

Now, you need to hand sew the laces on.  I used orange ribbon - cut into three small strips for laces, and then another longer strip tied into a bow.  I heat sealed the edges before sewing them on.


Way 2: With Machine Sewn Laces
After you make your marks on the fabric indicating the size of the sock, put 2 pieces of shoe, right sides together.  Sew from the sock mark to the edge, only on the edge facing the front of the shoe, and also sew down the front of the shoe, part way along the looping toe - as shown (1/4 inch seam allowance):

Turn the shoe right side out, and lay the sewn seam as flat as you can get it. 


Leaving at least an inch or so at the top, place your ribbons along the seam, evenly spaced from side to side, and pin - as shown (remember to heat seal the edges of your ribbon):

Sew the ribbon to the shoe along the short edges of the ribbon, and near the knot of the bow. 

Now sew from the mark you drew to indicate the size of the sock to the edge of the shoe on the other side.  Also sew up the line you drew, that little 1/4 inch part on either side.

Then, follow steps similar to way 1.
Tuck the sock in, pin and sew around the opening.
Pull the sock through itself and pin the shoe together.
Sew around the entire shoe
Pull the shoe right side out through the top of the sock.   
Now you don't have to worry about hand sewing the shoe laces - because there they are!

To Finish:
Stuff the socks and shoes with stuffing.  Carefully cram bits of stuffing all the way into the toe and heal, etc. 


Once they are both full of stuffing - sew the tops of the socks closed, and sew the legs to each other.


Then, put them under something and giggle at how cute they look!  Happy Halloween!


image signature

September 25, 2010

EAT Mod Podge Letters

Saw this post over at Frame Fanatic, and really liked it!
When I saw these letters on sale at Joann Fabric, I thought I would give the project a shot...
They are called paper mache letters, and are very light weight, and look and feel like cardboard.


(This would also work really well for a child's room - with letters spelling out their name!)

I painted the edges, starting with a white base coat.
I would suggest tracing the letters onto scrapbook paper, for the top, before you paint the edges in color.  That way, whatever you use to trace wont get on the paint, or rub spots on the edges.  (I used a pencil to trace the letters, and got some pencil markings on my edges - oops.) 

It took about 3 coats of paint to get the edges dark enough. 
After cutting out the letters in scrapbook paper - mod podge the paper to the top, and that is it!
To hang them, I poked a hole in the back, so it could hang from a nail.


This project cost about $8 - and it is a fun kitchen accessory:)


image signature

September 16, 2010

Jean Purse - Jean Tote - from Recycled, Upcycled Jeans!


I have been holding on to a few pairs of pants that are in good shape, but no longer fit my shape:)  I have had the idea to make jean purses out of them, but wanted them to be more than just jean - with bright colored fabric and decorative elements to add character. 
So I'll show you how I lined it with colorful fabric, sewed flowers to the outside, added a pretty belt - and made the whole thing outstanding!
I took my original jeans... 
And cut off the legs, right at the top of the inseam.   
They were completely open at the bottom, like a little mini skirt.  At this point, I knew I wanted to decorate the outside of the bag, while I had the open bottom which made it easy to manoeuvre. 
I took some matching bright fabric, and cut uneven squares. 
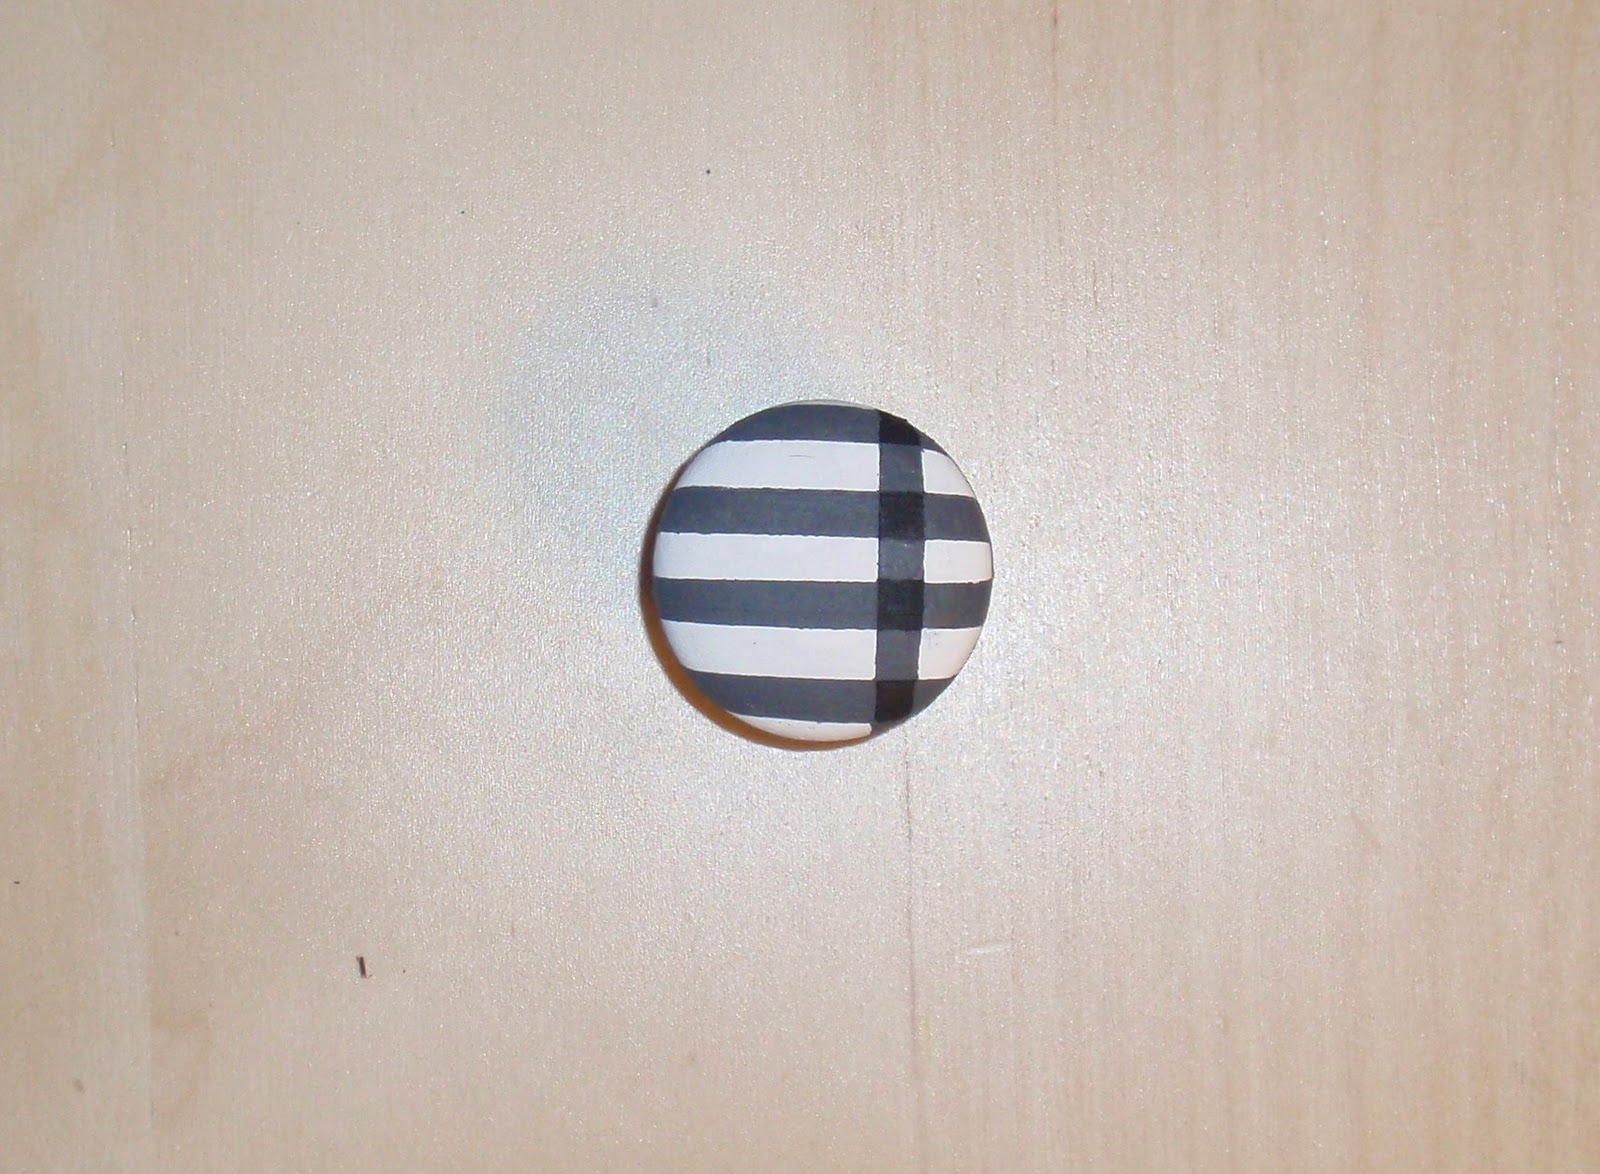
Onto three of the squares I sewed flowers, like this:

I took a long strip of fabric (about 2.5" wide x some random length) and sewed it into a tube. 
(To make a tube, fold the the strip in half lengthwise, right sides together, and then sew up the raw edge of the long side.  Turn right side out, and you have a long 1" wide tube.)
*Sewing the flower down to the square of fabric is not a precise thing*
Fold under the raw edge and set the end of tube somewhere away from the middle of the square.  Sew it down, along the inner edge, spiraling the tube in a circle toward the center... 
...until you have finished the flower in the middle.   
Fold the raw end under and sew it down at the middle of the flower.  This is a very forgiving process, and meant to be imprecise.  It makes for a shabby chic look. 

Then, sew the squares into an aesthetically pleasing manner on to the front of the jeans.  I sewed about 1/8" from the edges.   Note: *Be sure to fold the inside of the front pocket up and out of the way so that you don't sew through it.  This way your pockets will still be functional after the bag is made!*
I only added these 3 flowers to the front side, but you could applique anything to the bag - initials, any fabric with fun pictures, fabric cut into shapes of anything you are interested in - the possibilities are endless!

Turn the bag inside out, and pin the bottom of the bag together.  At the crotch, the fabric will probably need to be folded to make it lay flat - just be aware that some finagling is required. 
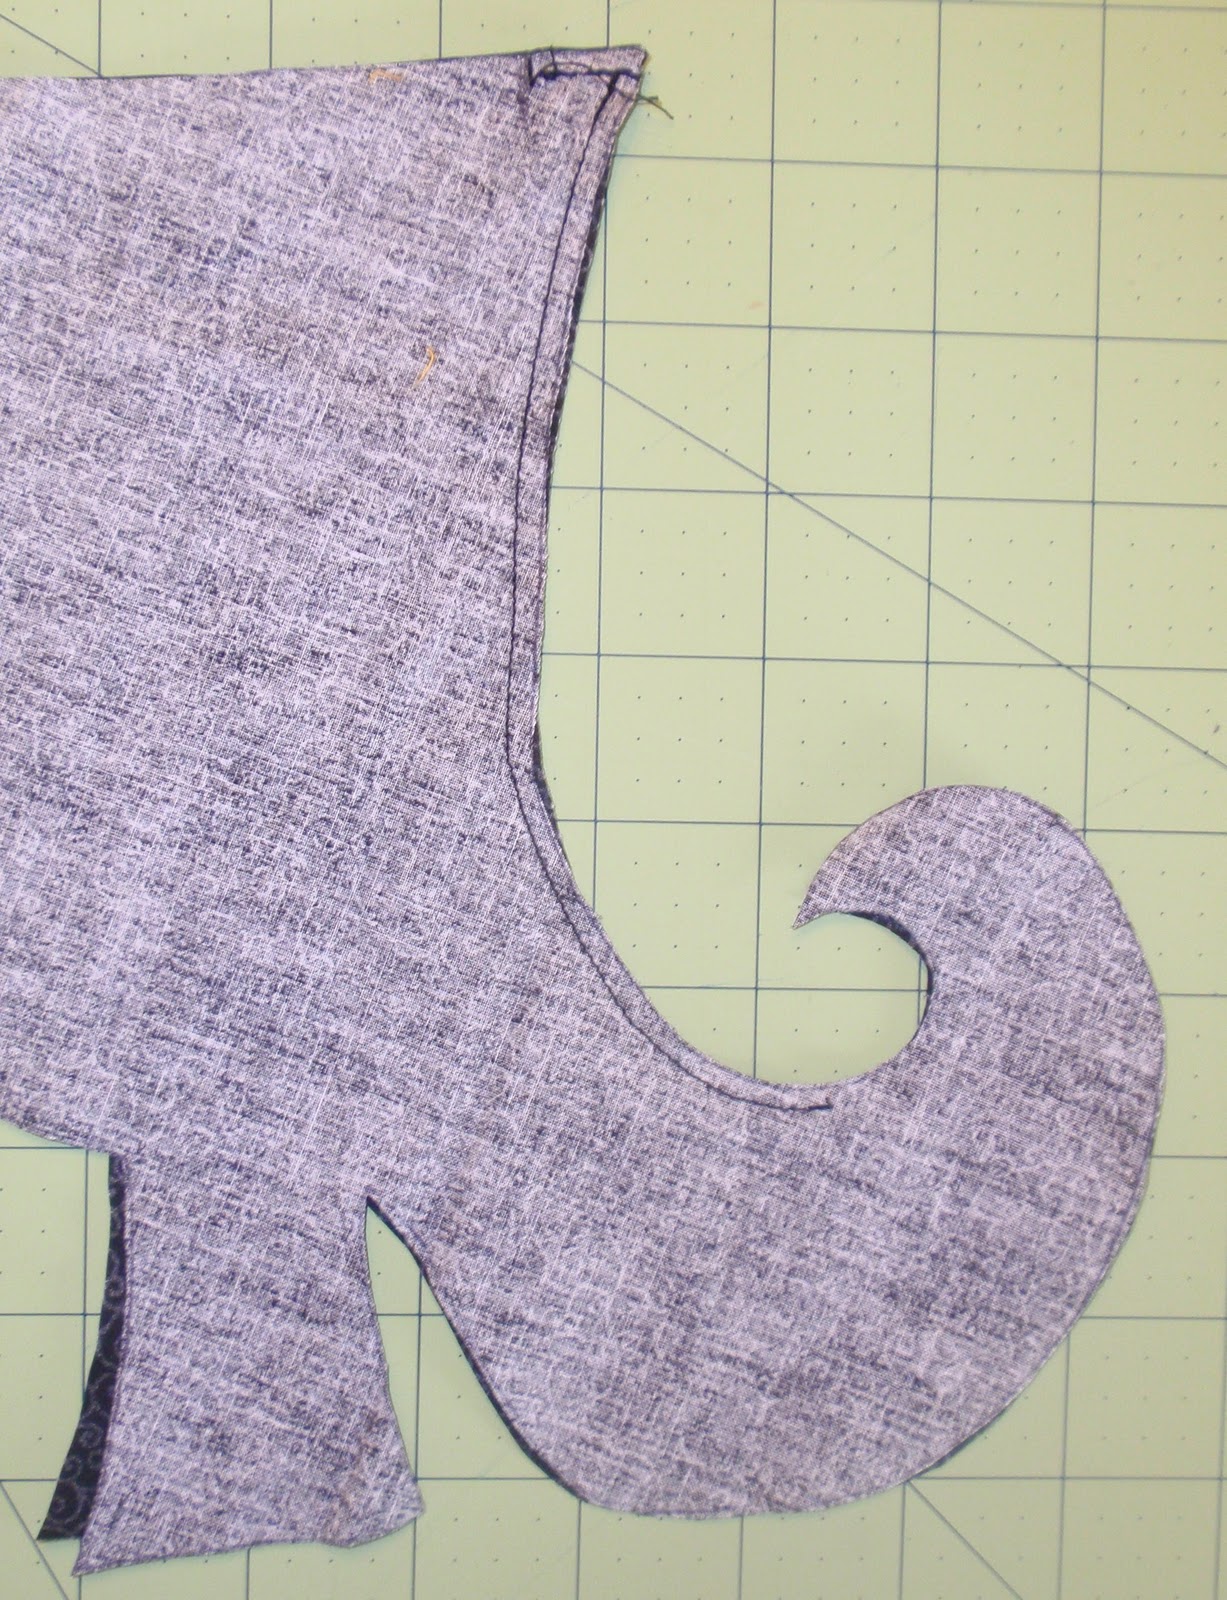
Sew along the bottom, and finish with a zig-zag stitch.  I also rounded my corners because I think the corners are too pointy otherwise.  The bottom of the bag already flares out - and pointy corners accentuate this. 
Look closely to see the rounded corners
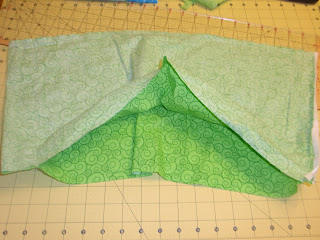
Next comes the inside lining.  Measure your bag to find an approximate size to cute your fabric. 


It will be wider at the bottom and tapered at the top.  Add on 1/2" to the length and 1" to the width for seam allowance.   Cut two pieces of fabric to the specified measurements. 


With right sides together, sew the bottom and 2 sides with 1/4" seam allowance.  You have a nice big pocket. 


Fold and iron the top edge out by 3/4". 


Turn your jean purse right side out.  Keeping the right side of the fabric on the inside of the pocket, tuck your pocket into your jean bag.  Pin the fabric pocket right against the edge of the waist as shown. 


Sew along the edge of the fabric - however - ** Make SURE you mark where the metal rivets are, and where the belt loops are.**  You are going to have to start and stop your sewing a few times to "hop over" these sections that you dont want sewed down (or in the case of the rivets, would break your needle...trust me.)  Since I wanted to put a belt through the loops, I did not want to sew across the belt loops. 
After you have used a machine to sew most of the pocket in, hand sew the few gaps you had to "hop over".


Next the handle.  I used one leg of the jeans, and cut two 3" strips as long as I could get them.  I left the bottom cuff to use as a finished edge.


Cuff of bottom of jean for part of the strap
At the raw (non-cuff) end, cut the strips at an angle to make them more decorative. 


Cut 2 strips of colorful fabric the same sizes as the jean strips.


With right sides together, sew along the 2 long edges and the angled raw edge.  Do this for both the sets, turn right side out.


Using the cuff edge, pin one length to each side of the bag - jean side facing out.  You may have to fold the sides under slightly - but not the end, because the cuff edge is finished.  Overlap the strap onto the bag by about 2". 

Sew in down very well, all the way around the square and in an x through it.  See picture below. 


Do this on both sides of the bag, one strap per side. 
 
Then, tie the straps in a knot at the end to make a finished shoulder strap.   See picture below. 

The last thing to do, is make a simple belt for decorative purposes.  I used the same style fabric as I did on the handle.  Cut 2 long strips of fabric - so that they will fit through through your belt loops, and be long enough to tie at the end.  Mine were just under 3" wide (to account for seam allowance) and about 45" long.  You may have to sew 2 lengths together to make it long enough.  Cut both ends at an angle (as shown below), to make it more decorative. 

With right sides together, sew the 2 long sides together, and 1 short angled end.  Turn it right side out, iron flat.  Finish the final short edge by folding the fabric under and hand or machine stitching closed. 


Pull the belt through the loops and tie the ends in a knot on the side of the bag.   

Here is a picture from the back of the bag: 
And a picture of the finished inside lining.  I love how bright it looks! 
It turned out pretty bright, stylin' and fun!  Can't wait to make many more!


image signature