


My poor sewing machine has been sitting out too long without a cover. I dearly love my sewing machine - so I decided it was finally time to show it the love, and make it a pretty cover!
I very loosely followed this tutorial here, however I could not get the measurement link to work - so I had to wing it...
I erred on the side of too big, because I figured that having a loose cover was better than having a tight one - don't you think?
So, I measured my sewing machine at its widest points, and pretended that it was a perfect rectangle - when in actuality it gets skinnier at the top (don't we all).

I cut one big piece to go over the front, top and back.
With the measurements you see above (which were already generous) I added together 12" for the front, plus 12" for the back, plus 7" for the top, and 1" for seam allowance. So, my big piece of fabric was 32" long by 17" wide. (17" is the width of the sewing machine, as seen above).
I cut two side pieces in a coordinating color, 7.5" wide and 12.5" tall (the extra .5" on the width and height account for the 1" seam allowance I added to the big piece).
I also cut lining fabric and interfacing in the same dimensions.
So, to recap:
1 big piece of fabric (for the outside) - 32" x 17"
2 coordinating pieces of fabric (for the outside sides) - each 7.5" x 12.5"
3 pieces of lining fabric - 1 piece: 32" x 17", 2 pieces: 7.5" x 12.5"
3 pieces of fabric interfacing - 1 piece: 32" x 17", 2 pieces: 7.5" x 12.5"
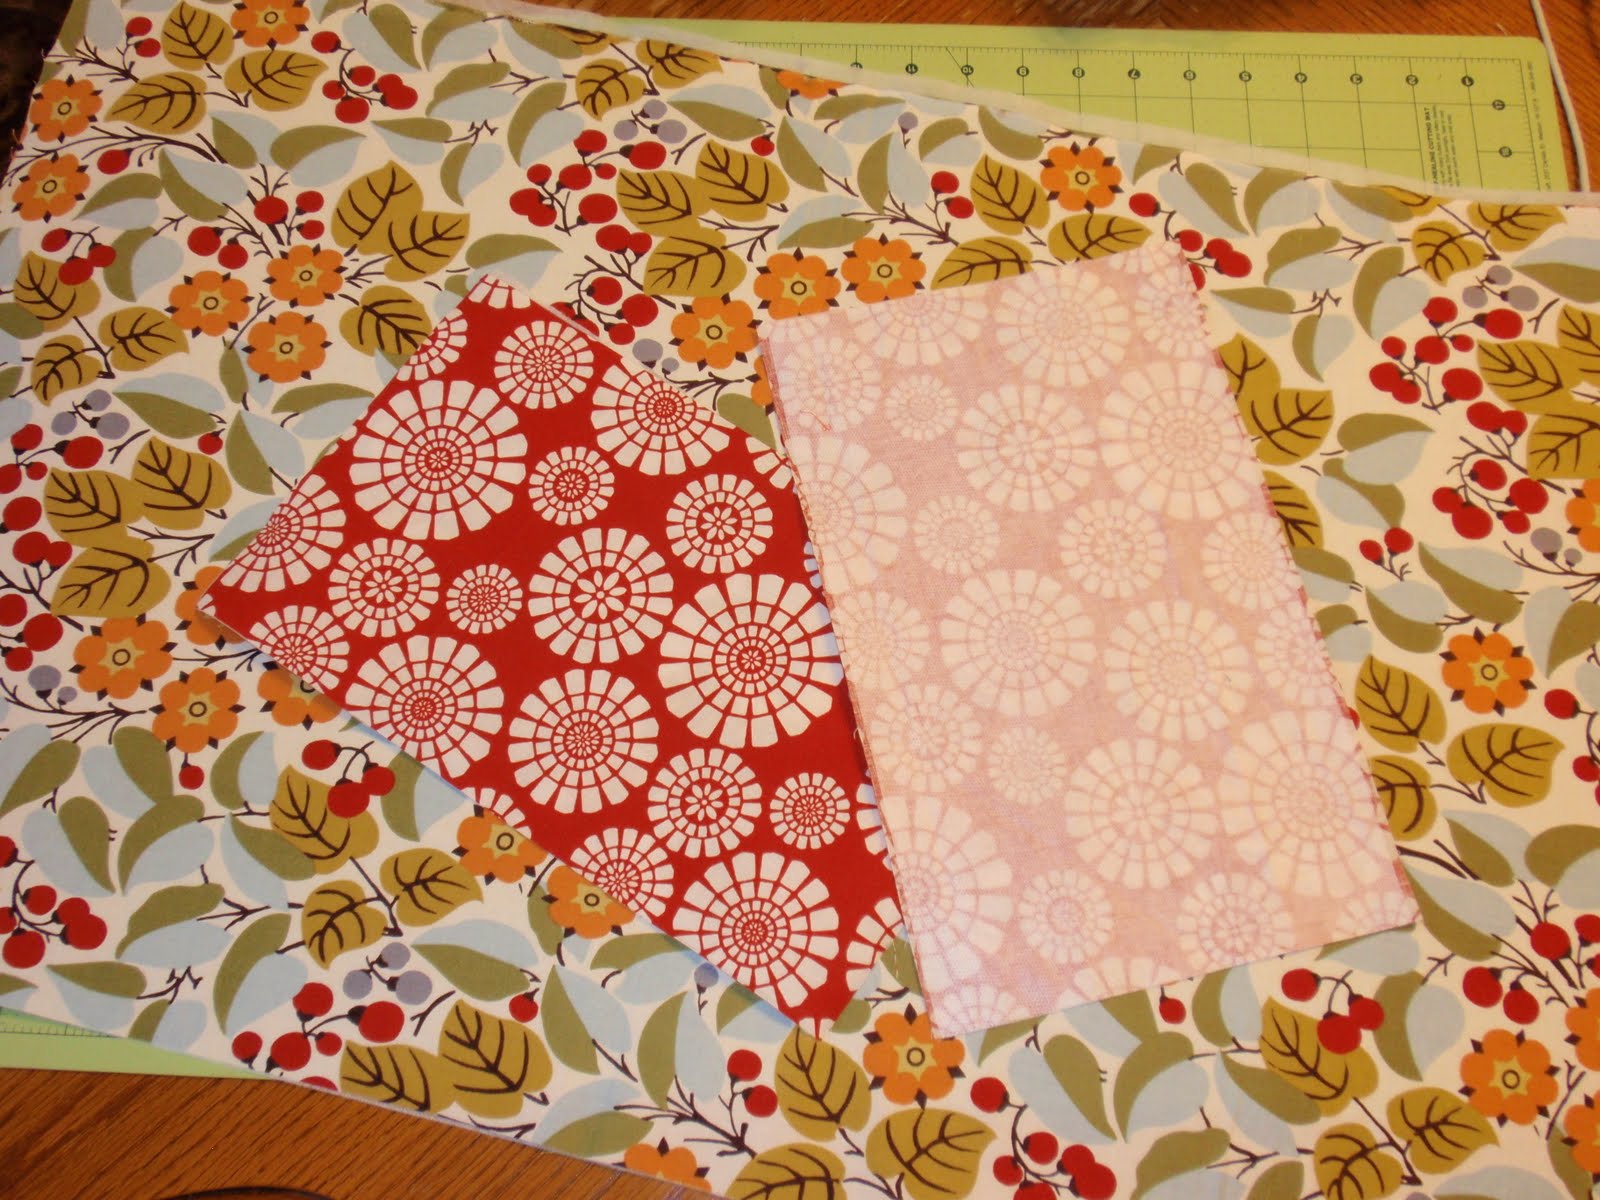
Below is a picture of the outer fabric, with the interfacing ironed on:
Sewing the big piece to the sides is done like so:
1) Mark the center of the big piece of fabric, along the long edge, with a pin.
2) Mark the center of the side piece of fabric, along the short edge, with a pin.
3) With right sides together, match up the center pins and pin the pieces together.

4) Sew (using 1/2" seam allowance) the two pieces of fabric together, however DO NOT sew all the way to the edge of the side piece. As you can see in the picture below, you want to leave just under 1/2" unsewn on each edge.
5) Use your scissors to cut a small line, slightly less than 1/2" down, and right next to the side fabric.


5) This little cut allows you to easily turn the edge of the side piece to meet the remaining long edge of the big piece (review the picture beneath step 3 to see what I mean).

6) Pin the edges together and sew with 1/2" seam allowance.

The picture below shows the top and one side sewn together...
You will want to do the same with the other edge of the side piece.

Then repeat steps 1- 6 for the 2nd long edge of the big piece of fabric.

You will want to sew the lining the same way - however LEAVE A 2 - 3" gap in the seam along one side.
Below is a picture of the gap I left so I could eventually turn my cover right side out:

Turn the outer cover right side out, and leave the lining inside out. Put the lining over the outer cover, so that right sides are together. Align the bottom edge and pin all the way around. Sew all the way around the bottom edge with a 1/2" seam allowance.

Turn the cover right side out through the hole you left in the lining. You can see my hole in the picture below. Once it is all turned right side out, sew the hole closed either by hand or with your sewing machine.

Here you have a choice. You can iron your cover so that you can't see any of the lining, or you can iron your cover as I did, with the lining sticking below the seam a little bit. I like the contrast in color that it adds.
I ironed it with about 1/2" of the lining showing, and then I sewed around the bottom edge again, through the lining, right next to the seam.

I am delighted with the cover - it suits my sewing machine very well! With this simple pattern, it took very little time to make, and was very forgiving!
So be sure to show your sewing machine some love (if you haven't already) and protect it from the dust, grime and filth of the outside world with a pretty fabric cover ;)


Follow me on Instagram @ diaryofacraftylady
Follow me on Facebook


I love it!
ReplyDeletegreat idea! love the tutorial.
ReplyDeletethanks for sharing.
So, you are being very nice to your sewing machine! Mine actually has a cover, but I forget to put in on when not in use. I should do that! Thanks for the inspiration!!
ReplyDeleteI love this! It made me realize my sewing machine needs a nice cover. I pinned this so I can have a nice tutorial to follow. Thanks!
ReplyDeleteGreat fabric choice! Love it!
ReplyDeleteCute! It's such a great addition to a craft room!
ReplyDeleteI just mentioned needing one of these. And now I have the idea and detailed tutorial to make it. Thanks for making it look so easy.
ReplyDeleteThose are some of my favorite fabrics right now :), Thanks for sharing at Beyond the Picket Fence!
ReplyDeleteLove this! I need to sew a cover for my overlocker! :) Might get onto it sooner after seeing this! :) Thanks
ReplyDeleteI got that fbric,too. Don't you just love it? Thanks for the tutorial. I should make one of these for my poor machine.
ReplyDeleteGreat tutorial, I just finished mine and it came out very nice!!!
ReplyDeleteGreat job! Looks beautiful, thanks for the tutorial and visuals!
ReplyDeleteThanks for the tutorial! I used it and now my machine looks great. The best way to get rid of dust on your machine dust :)
ReplyDeleteThank you so much for offering this lovely, detailed tutorial! Those two little slits solved my corner-turning problem!
ReplyDeleteThanks for sharing this is great. My older machine has a hard case cover, but I recently bought another machine that I just opens on Sunday! Need to get a cover for it fast!
ReplyDeleteThis is perfect. My 2 year old grandson has a fascination/obsession with his mother's Janome treadle machine. I hope this cozy, with added security tapes for tying under treadle table, will turn his mind to other pursuits.
ReplyDeleteGreat post, but when I first came to it, there was a pop up. Maybe your site has malware.
ReplyDeleteThank you! I like that you made it simple enough for a lay person like me to follow! :)
ReplyDeleteGreat tutorial!
ReplyDeleteVery nice and directions that even I can follow. Thank you
ReplyDeleteGreat Tutorial. Thanks for sharing with us. Product Photo Editing Service
ReplyDeletePhoto Editing Services
ReplyDeleteThank you, Marelize, for sharing your creativity, talent, and this incredible idea. I'll be sure to put it to use and spread the word among my crafty friends. Keep up the excellent work, and I'll be eagerly waiting for more of your fantastic blog posts!
ReplyDeletehttps://www.promocodehq.com/blog/can-you-use-a-walmart-gift-card-for-gas/
The step-by-step guide and the detailed instructions make it seem like a fun and manageable project, even for someone like me who's not a seasoned sewing expert.
ReplyDeleteBut I have to admit, as I was reading your blog, one particular aspect caught my eye check cashing apps that don't use ingo
Nice articles and your information valuable and good articles thank for the sharing information forex trade
ReplyDeleteWould I need to cut my lining fabric a bit bigger if I want the 1/2" contrast?
ReplyDeleteA sewing machine cover protects your machine from dust and damage, just like a mib suit shields agents in their missions. Both offer essential protection—one for your creative tools and the other for high-stakes adventures—ensuring they stay in perfect condition, ready for action.
ReplyDeleteEmbrace timeless style with the vintage leather jacket from 7thangle! This exquisite piece is designed to capture the essence of classic fashion, featuring unique details that set it apart. Made from high-quality leather, it offers both comfort and durability, making it a staple for any wardrobe. Perfect for adding a touch of retro flair to your outfits, this vintage jacket is ideal for both casual outings and special occasions. Stand out from the crowd and express your individuality with the vintage leather jacket from 7thangle!
ReplyDeleteThe https://www.fitjackets.com/categories/bomber-jacket-men/ from Fit Jacket is a timeless essential that combines sleek style with everyday versatility. Crafted from high-quality materials, it features a clean design, comfortable fit, and durable construction—making it perfect for any season. Whether you're going for a laid-back streetwear look or a smart-casual vibe, this jacket adds effortless edge to your outfit. With its classic black color and modern appeal, the black bomber jacket from Fit Jacket is a must-have for any wardrobe.
ReplyDeleteCustom Embroidered Badges No Minimum Rush Patch USA.
ReplyDeleteLooking for custom embroidered badges no minimum? rush patch dot com USA makes it easy to create high-quality badges without bulk commitments. We offer custom embroidered badges no minimum order, perfect for start-ups, clubs, teams, and individuals. From custom embroidered badges no minimum wholesale pricing to custom embroidered badges no minimum cheap options, we deliver premium stitching without cutting corners. Whether you need no minimum custom embroidered patches, custom embroidered hats no minimum order, custom embroidered hoodies no minimum order, or even custom embroidered backpacks no minimum, Rush Patch is your trusted manufacturer. Searching for custom embroidered patches no minimum near me? We ship fast across the USA with consistent quality and zero hassle.
Visit our website. https://rushpatch.com/blogs/news/custom-pvc-patch-hats-no-minimum-flexible-stylish-and-affordable