So, during my three week long winter break (wow, seams like a very distant memory now...)
but I made another bench from a headboard and footboard, for my sister (lucky ducky!!)!
This one is pretty spectacular, if I do say so myself:)
My sister has a very active almost 2 year old boy, and this thing is so solid, that it will be able to withstand anything that boy throws at it...even himself.
I give a pretty detailed tutorial in my other headboard bench post, but I will walk you through the making of this one as well...because as I said when making the other one - every headboard/footboard combination is different....and you have to adjust and modify your steps for every little tiny uniqueness...
So, my dad picked up these beauties...a headboard and footboard made of solid wood - with very pretty designs and knobs.

As you can see, both are rather short. The footboard is a perfect height for the arms, but the headboard needed to be raised for a proper back height.
So, we (meaning my handy dad and I) figured out the height we wanted to seat to be at (about 20").
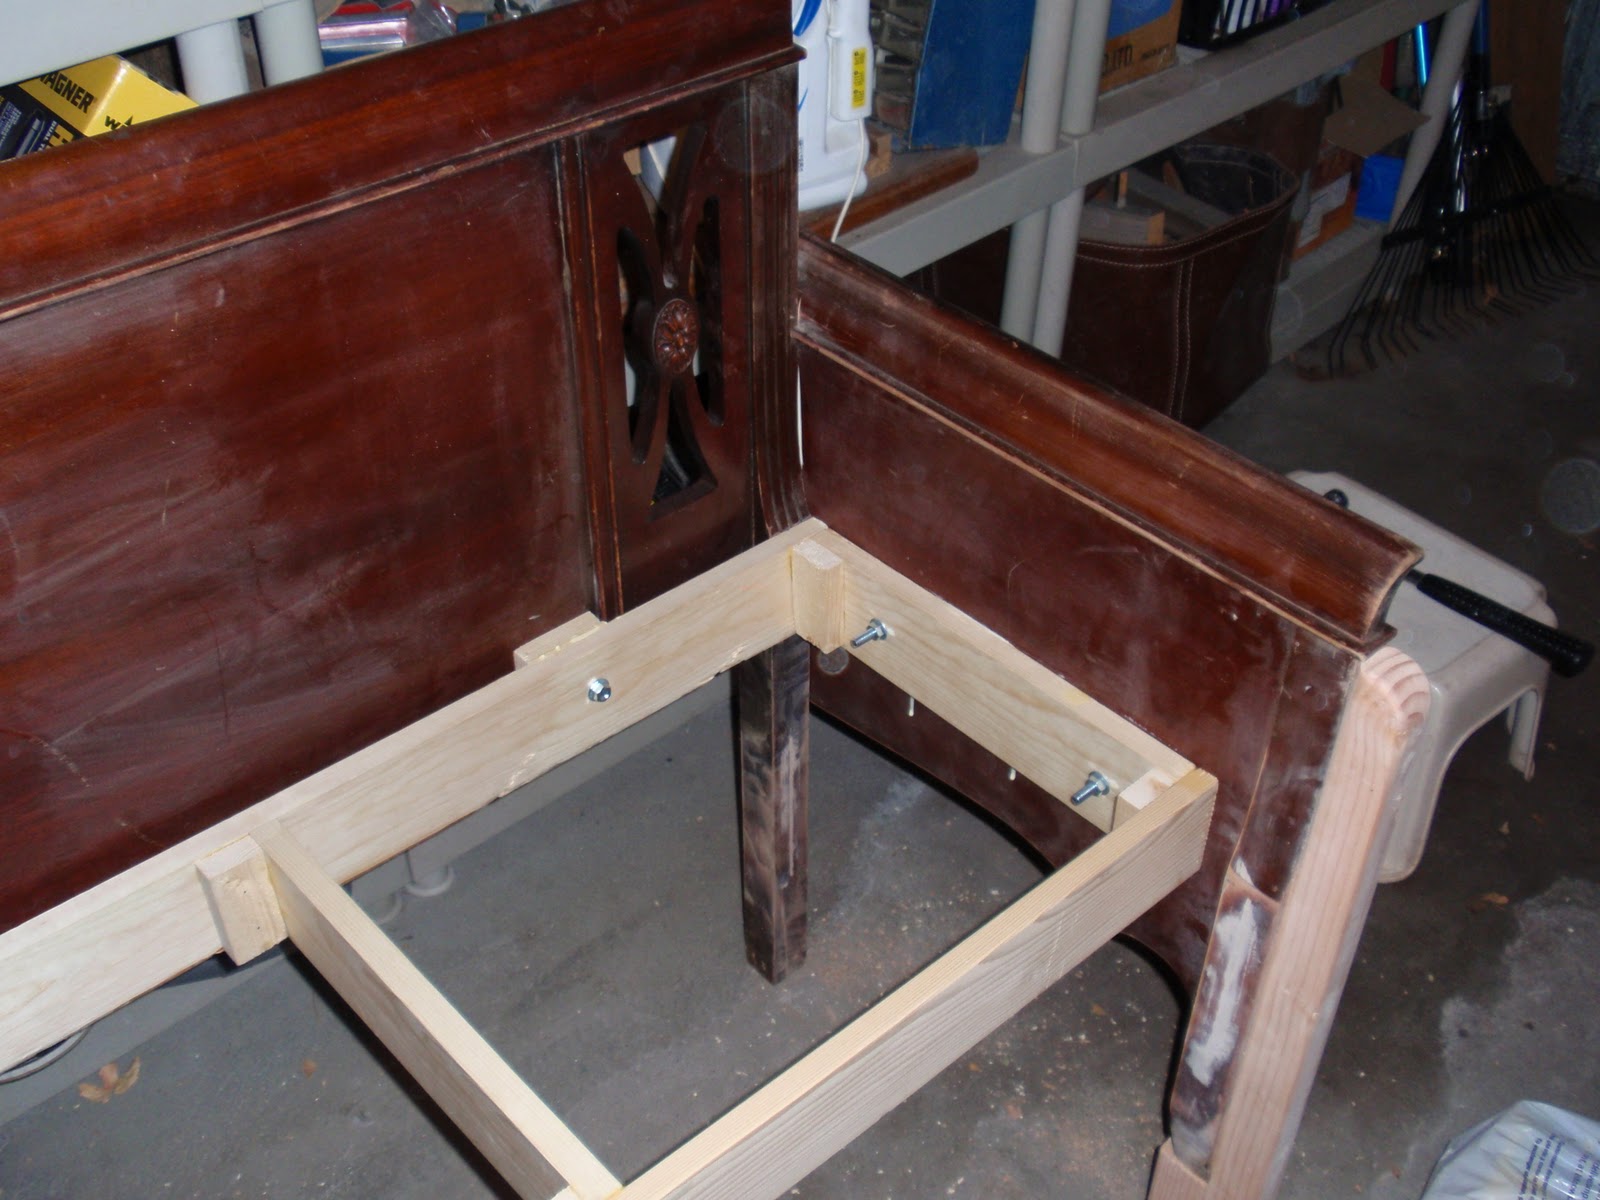
Since we knew that the seat was going to be attached at the bottom most part of the headboard ... we added 2x4s onto the legs after measuring the proper length, allowing for the fact that part of that 2x4 would be used for attaching the seat box. (see the picture a few down to see what I mean)
We glued and screwed the extension pieces together, and screwed the extension into the existing part of the leg.


Using 1x4s, we built a seat box - glued and nailed all the pieces together - and bolted it into the front of the headboard.


The depth of the seat box was about 16 inches, and we wanted the arms to overhang the front by a couple of inches, to accommodate the wood that was jutting out at the ends of the footboard.
After measuring the length of the arms, we cut the footboard - and screwed each arm into the back of the bench.
We used a level to make sure that everything was lined up, and later used a level to screw the seat box into the arms properly.


You can see the screw holes all along the back edge...but the front part of the arm is screwed into the seat box from the inside, to hide the screws. We liked the look of the arms from the outside, and didn't want to have the screws or any bolts showing from the outside if we could help it.

Below is a view of the bench with the seat box bolted to the back, and the arms screwed on.
Because we didn't put bolts through the arms and into the sides of the seat box on this one, we added strips of wood to the front, to support the front part of the seat.

I will reiterate here that we were liberal with the wood glue, and the brad nailer/nail gun!

My dad had these GORGEOUS oak boards that he had been saving for over 10 years...and he generously contributed a few of them to this project!
The are very sturdy, the grain is beautiful, and each piece is unique. They came from a friend's oak tree, which had been cut down from his yard years ago. He worked very hard to plane the edges so that they fit snugly together without any gaps....

And once it was all done, we nailed the seat into the cross pieces of the seat box...and stained the whole bench the same color as the original headboard and footboard...
It was also sprayed with a clear coat finish - and will probably be sprayed again with a clear coat in the spring, when it is not so dang cold outside!

The bench is a beautiful natural color...

And during the summer, it will sit on my sister's porch - for everyone to enjoy while the kids play outside!

This was another huge accomplishment - and we LOVE how it turned out. And believe me when I tell you - it is addicting! You will be on the constant lookout for headboards that will work once you have successfully made one of these.
I have no doubt that someday we will make a few more:)