Pages

November 11, 2013

"Minute To Win It" Opening Social Event


A few weeks ago we had a lovely Opening Social for the women's group I'm a part of - the Relief Society of the Church of Jesus Christ of Latter Day Saints - and I took a few pictures of our evening I thought I would share.  This is the second event I've helped plan and facilitate, the first being our Service Auction, and both have been huge successes!

The evening started out with a dinner of soup, salad and bread (all provided by different women in the group), along with a bit of socializing, and ended with our "Minute to Win it" style games - modified for our audience.


One thing I loved about our decor was all the natural elements.  It is amazing what you can do with little to no budget!  Most of the items on these tables were gathered from women we know (with one brilliant lady in charge of the overall decor and the one who provided most of the accessories).

She did a few simple things that made the evening seem so elegant.  The platters of bread and pots of soup were set on overturned bowls that had been covered by a 2nd linen tablecloth.  The differing heights and spacing made the food eye catching and easy to access.


Things like burlap and twinkle lights are inexpensive, and often things that people have already, which can be used to add texture and interest to a table!  Above is our dessert table, and again, I love the differing heights of the platters, and the interspersed natural and vintage decor.  I felt so warm and inviting!


Ball jars as vases, old books tied with raffia, fresh flowers and a burlap table runner made each table warmly decorated on a very small budget.  This is the kind of place you want to sit down and chat with your friends while eating warm homemade soup -- don't you think?!


We encouraged people to socialize with women they might not know very well by randomly assigning each person a table based on color (see the painted fall leaf in the picture below, which represents the purple table).  We also had "get to know you" questions written out on popsicle sticks at each table, and encouraged women to break the ice by asking their neighbor some of the questions while they ate.

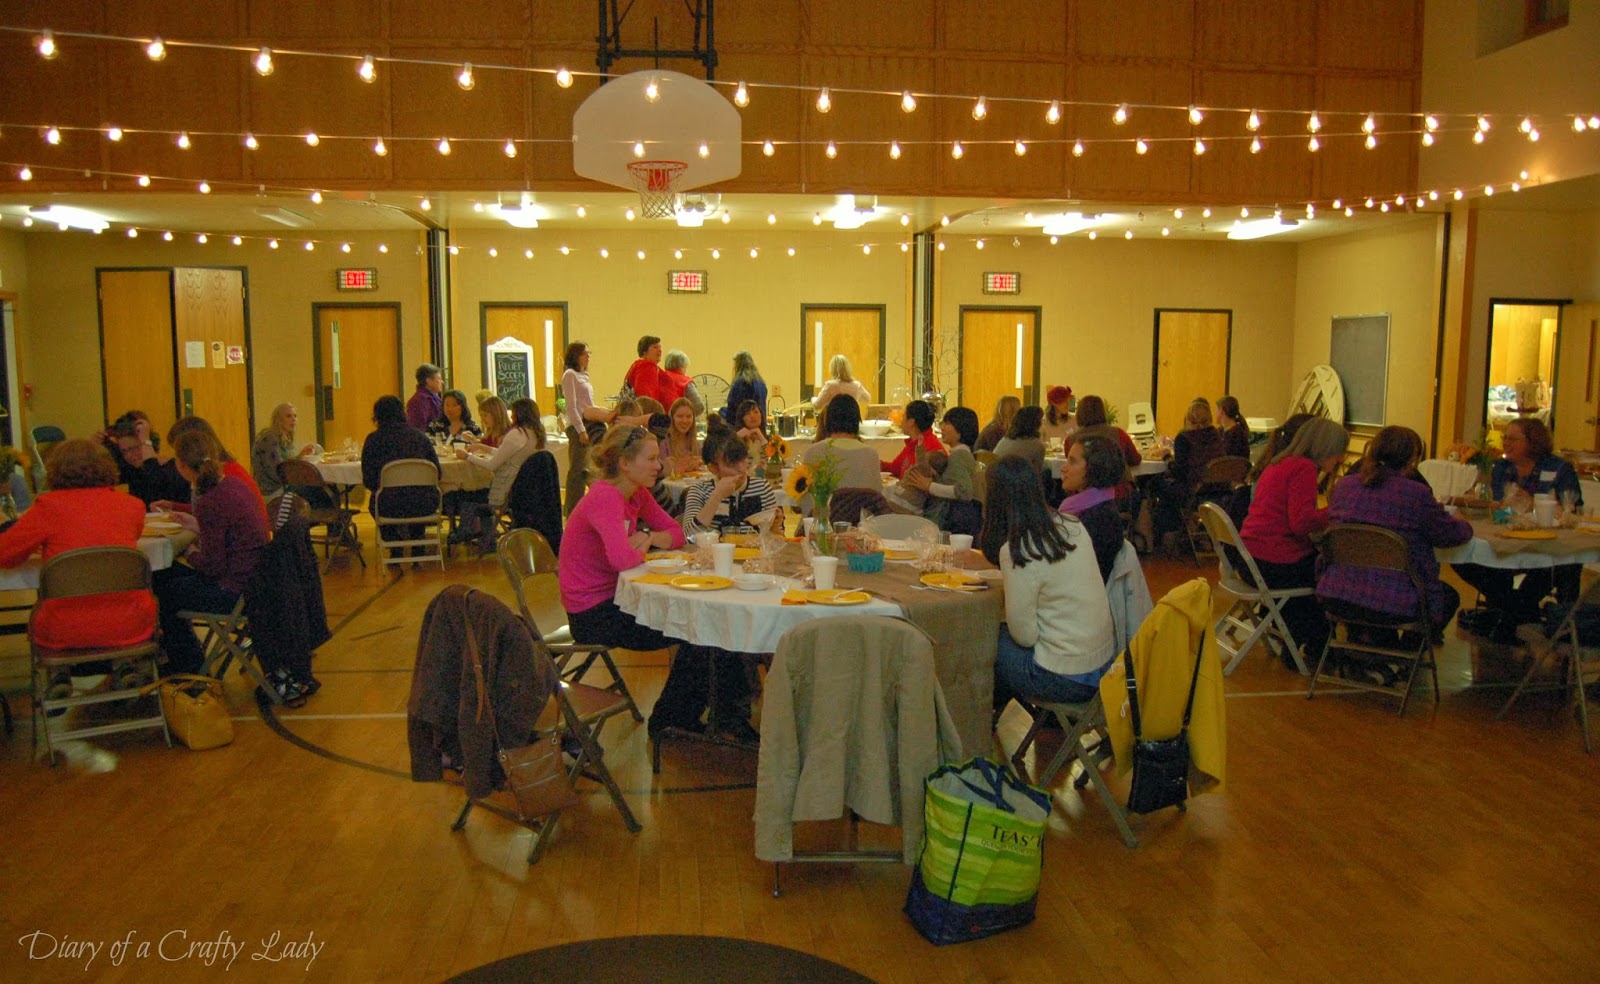

For the second half of the evening, each table became a team to play our quick, team building games - all with an LDS twist.  Instead of completing a task in a minute, we modified the game so that each team completed each game as fast as they could (they got a couple of tries at each game), and they recorded their fastest time at each.  The team who added up all their fastest times and had completed them all in the least amount of time, won!  

One lady that helped out with the event even made a darling scorecard for each team to use!

Here are the games we played (some of which were inspired by this post here and this post here):  

Game 1: Samuel the Lamanite - knock the little figure off the "wall" using MnM's, then re-stack the cups and replace the little figure.  (There was a line they had to stand behind).  It was a mess - but a fun one!


Game 2: Party Planner - 1 player must setup 6 chairs in 2 rows.  Have your team sit in the chairs, stand up, and the same player must then re-stack the chairs.

How fast do you think you can put away those stubborn metal folding chairs? ;)


Game 3: Fast Faith - Recite the 13th Article of Faith from memory, no mistakes.  Another teammate will check your work with the provided answer.  


Game 4: Stack N' Sing - Sit or stand and stack 3 hymn books on your head and sing all the verses to a popular [church] song (you are allowed to look at the words for this one.)  Sing as fast as you can, and don't let those books drop!

Game 5: Church Ball - One person holds a clip board at their waist, another stands behind the line and tries to bank ping pong balls off the clip board into the garbage can.  Get 3 ping pong balls in as fast as you can - and the person with the clip board can feel free to move around to try to help!


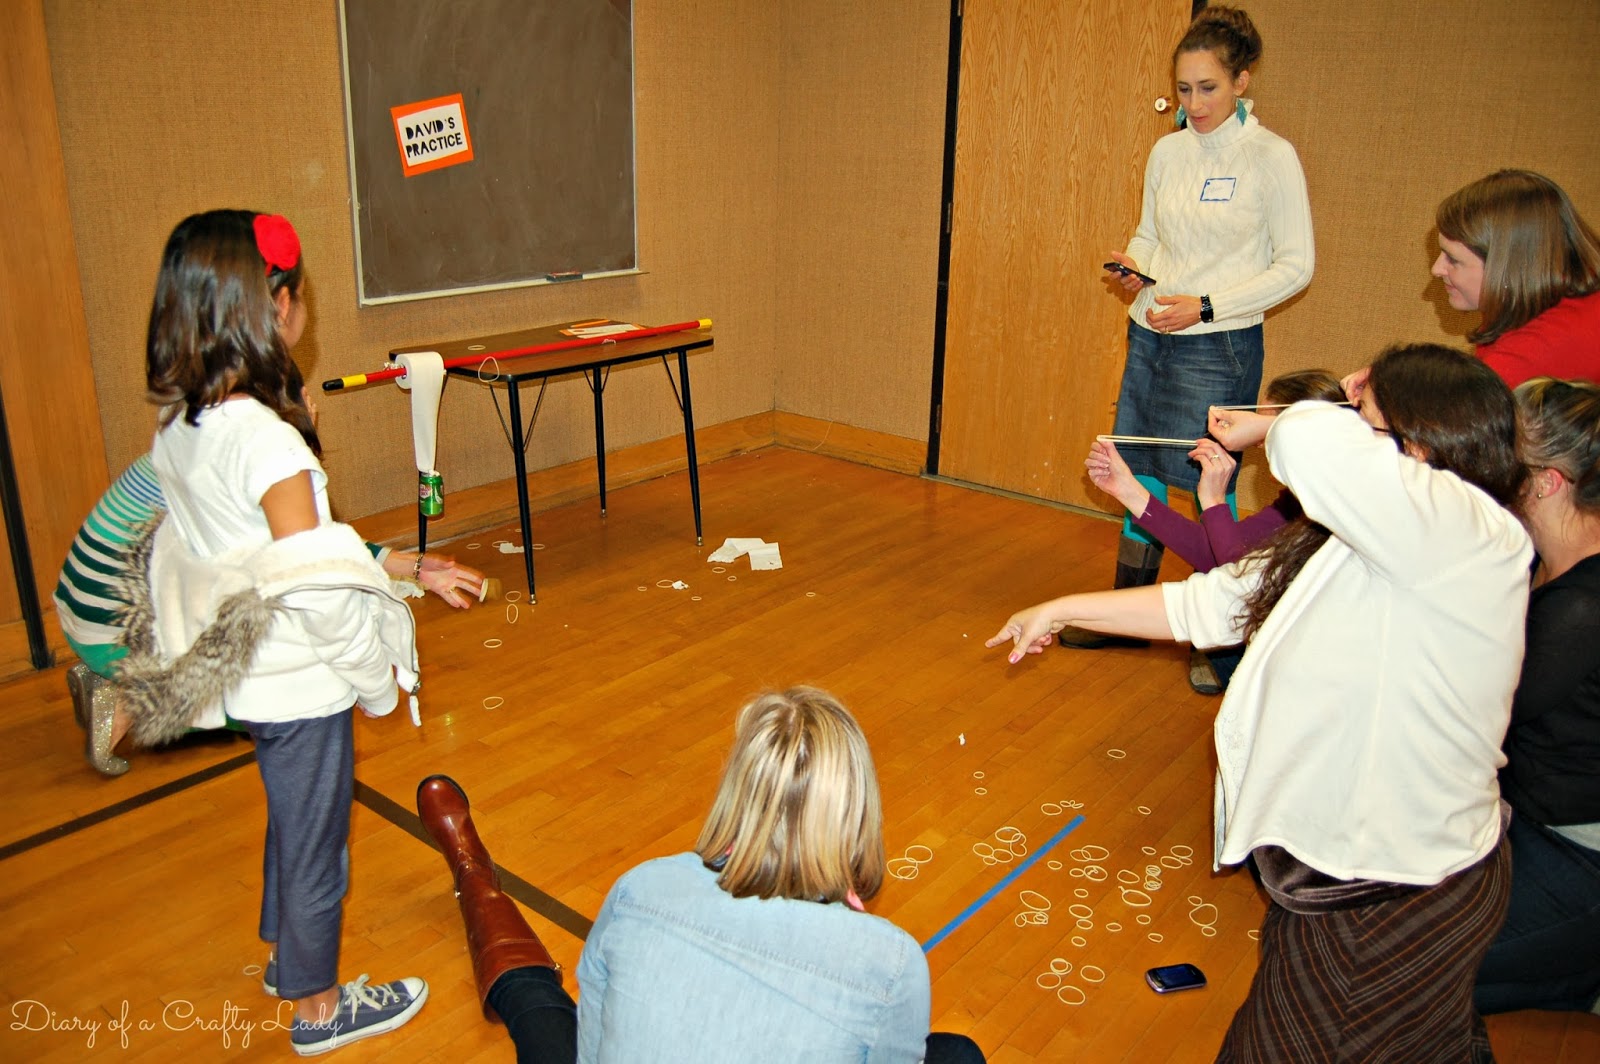
Game 6: David's Practice - Slip a toilet paper roll through a broom handle, and tie one end of the TP through the tab of a pop can to weigh it down.  Stand behind the line, and using rubber bands, break the line of toilet paper apart.  


It was so fun to see everyone playing our silly games!  Each person was welcome to play the games as many times as they wanted, or a person could simply cheer on their team - whatever made everyone comfortable!  It was great to see people laughing, cheering, and competing -- and it's always nice to have people talking to one another, and making new connections!  

Plus, we ended the night with these amazing pumpkin bars for dessert - and these are so good - they make everyone happy! ;)

image signature
Follow me on Facebook


October 31, 2013

Happy Mario Halloween {Plus a Nintendo Controller Costume!}


We had a blast trick or treating tonight!  Grandma is visiting and we whipped up a quick Nintendo controller costume for her - it was a hit!


I took some cardboard - cut 24" long x 10.5" wide - wrapped it in wrapping paper (backward so the white was showing) - and put 2 black pieces of construction paper in the middle...

Then, I cut out all the little parts from construction paper, computer paper, file folders - anything I had that was the right color...

I taped the pieces down and covered the whole thing in contact paper.  The back piece was the cardboard wrapped in plain white, and we strung the two together with ribbon, to hang over her shoulders....and voila! Cute Nintendo Controller!


We got lots of compliments - and did our traditional trick-or-treating on Beacon Hill in Boston - it is AMAZING down there!  If you ever get the chance to go - do it!  The atmosphere is festive, and the candy haul is pretty overwhelming... ;)

Hope your Halloween was safe and fun!

image signature
Follow me on Facebook


October 30, 2013

Old Book Covers for {Cookbooks; Scrapbooks; Journals, Photo Albums...} plus *10 DIY Ideas*


Sometime, old books just call to me (and my mom).  These are my mom's collection of old hard cover books, some of which she has repurposed.  When I was visiting her, I took a couple trips to the thrift store to pick out some for myself!  The covers are colorful, the font is charming, and pictures are funny.  Plus, old books can have a million uses!  


In our case, we have turned some of these old books into covers for other papers...like recipes, birthday cards, Christmas cards...and they are so fun!

Here's how we do it:


Find yourself some hardcover books, in the size and color you like.

Using an exacto knife or box cutter, carefully slice the front and back pages that connect the cover to the block of pages.  If you slice close to the spine, it will look like this one below when you are finished:


If you cut up a few, you will have a beautiful set of book page blocks to stack and use on a mantel or bookshelf (see below).  I tied this set with baker's twine and set a Halloween decoration on top...
OR you could use the pages to make one of the many book page crafts that have tutorials all over the web.  I have made a magnetic board with book pages, my sister has made some awesome centerpieces and book page wreaths.  Really, the possibilities are endless!


Back to the covers - take a piece of white duck tape, and cover one side of the inside spine...

And then put another piece, overlapping the first, on the right side of the spine (see below).  This will provide extra durability.  


Below you can see all the book covers I cut and covered with duck tape...

Next, use a rivet stamper/hole puncher to punch holes for the binder rings.  My suggestion, think about what you want to put inside before you place your holes.  If you have short things, and your holes are too far apart, it will be hard to store the papers inside using only 1 binder ring.  I ended up punching mine each about 3/4" from the edge of the spine, and 1" from the edge/top/bottom of the cover.  I also used rivets once the holes were punched - but this is optional.  If you don't use a rivet, I would suggest dabbing the edges of the holes with super glue so that they don't fray.


Now, your book covers are ready to store papers - just hole punch the papers where your holes are, and thread the binder rings through.  My mom also took things like stickers, tags and vinyl and other rub on letters and marked the spine and covers of her books so she knows what is inside - which I love!


Aren't they darling all lined up on the shelf??

Want more inspiration?  Here are some other book cover projects from around the web:


Now get yourself over to the thrift store and find some old books!

image signature
Follow me on Facebook


October 27, 2013

Luigi, Bowser Jr. & Star {Super Mario Brothers Halloween!}


I did it!  In time for our church Halloween party - I finished our family Super Mario Bros. Costumes!!


My older darling daughters I finished first - Mario and Princess Peach.  You can see my post about their costumes here.  

My husband was Luigi (he ate a mushroom, so he was a big Luigi). I followed the same tutorials for his costume that I did for Mario - just super sized them.   


It took me a little while to figure out what I should be.  I was going through the list of bad guys, and came across this post from Remarkably Domestic.  Her son was Bowser Jr. - and I was impressed!  I set out trying to figure out how to make myself this little guy...

Here's how I made myself a Bowser Jr. costume: