As many of you probably are - I am already thinking about Christmas presents:) I saw
this Levi Apron and knew exactly who I wanted to make them for - a couple of tween friends of mine! Coupled with some cookies in a jar that my sister is making, they are going to get a stellar gift!
I did have a bit of trouble following the tutorial, however. So here are a few steps that I feel make it a bit more clear.
When I cut out my apron shape, I didn't know which end of the pant leg to cut, at first. I eventually figured out the the bottom of the pant leg becomes the top of the apron, because of the way the pant leg is shaped.
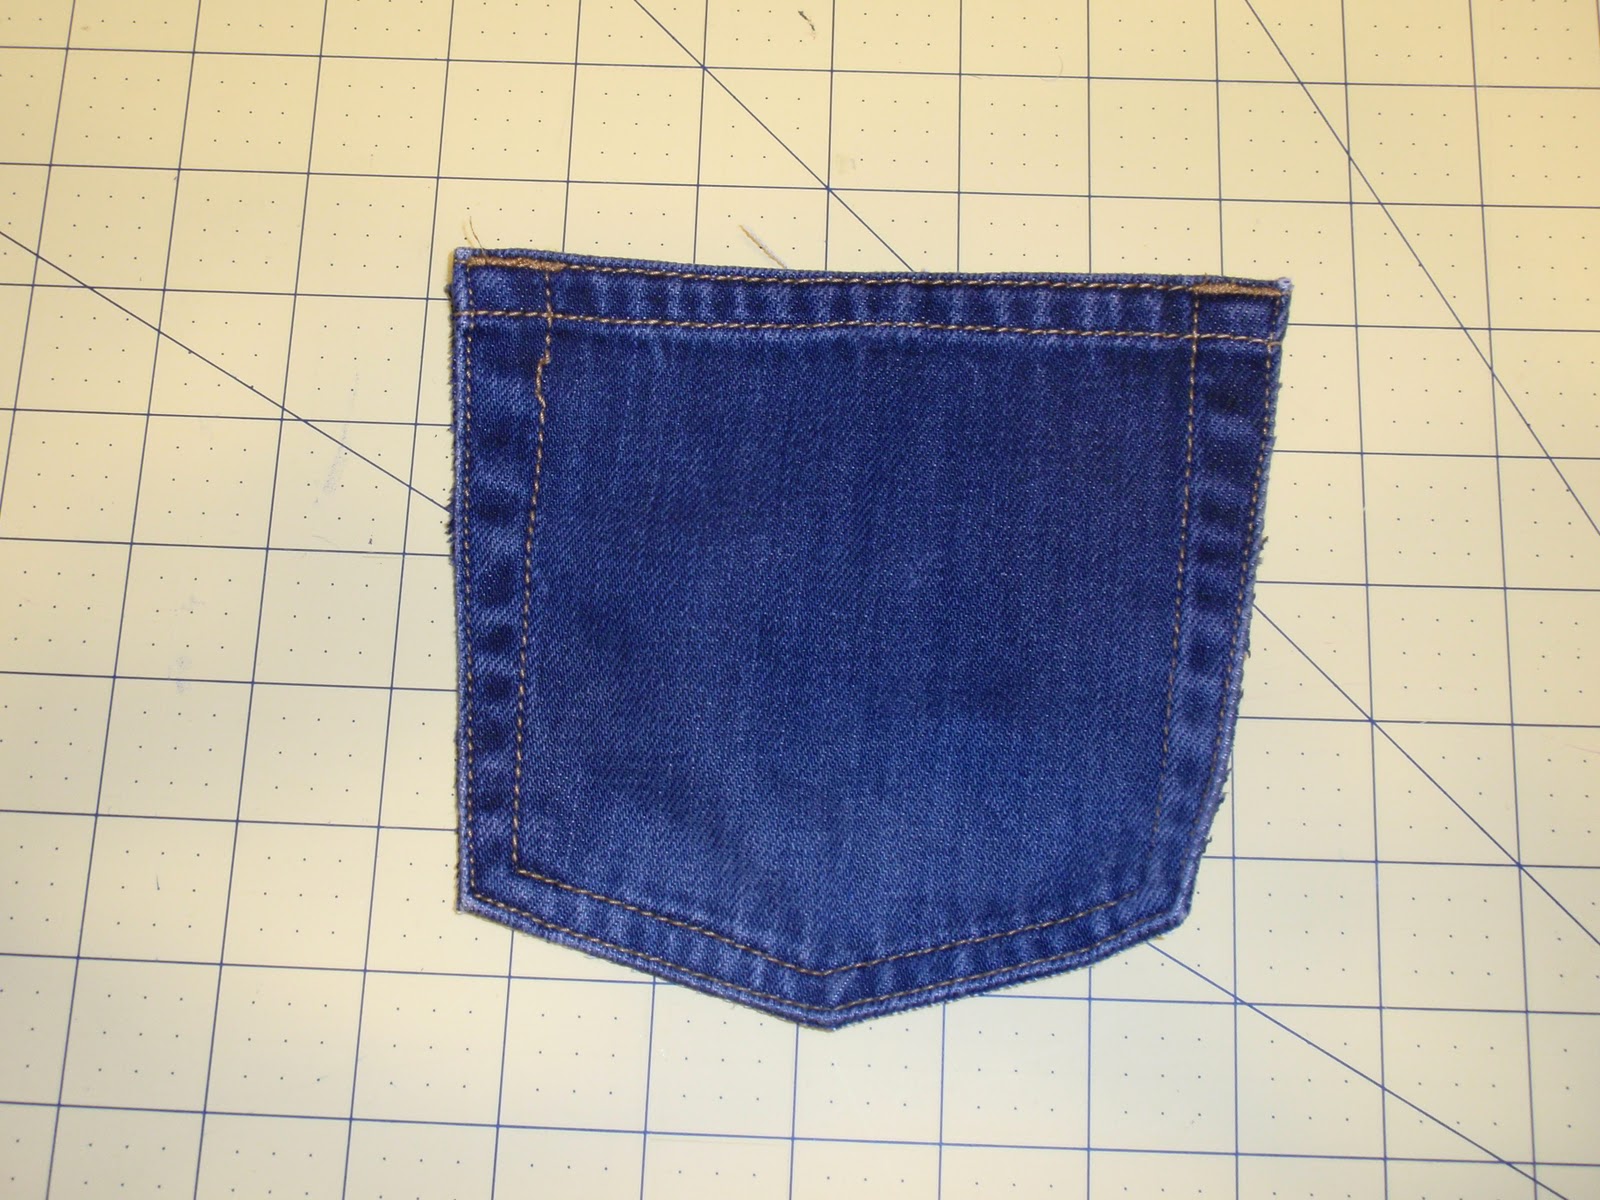
Also, when it tells you to cut a pocket out of the bum, I didn't know exactly how to do that either. After originally incorrectly trying to seam rip it out, I realized that I needed to cut all the way around the pocket...
So that it is actually the pocket AND a layer of the pant. Technically there is a raw jean edge around the outside of the pocket, but you can't see it if you cut very close to the edge. This top opening will be sewn closed when you add the fabric to the top of the pocket.
I was also completely baffled as to how much fabric to cut for the edges, and how to cut it....
So, I took the fabric and cut it into 3 inch wide strips, by the length that the fabric comes off the roll (which is usually 40-44"). I cut a total of 5, 3" x 44" strips.
I sewed 3 of the 5 strips together. At the short end, put right sides together, sew along the edge, turn right side out. This made a very long approx. 132" strip. Then I sewed the remaining 2 strips together the same way to form an 88" strip.
I folded the edges in by about 1/2" on each side and ironed.
Then, folded the strip in half and ironed.
Next, I pinned the 88" long strip (the strip made of 2 pieces sewn together) along the 2 sides and the bottom, continuously (yes the fabric just changed:) Different apron being shown now). I had to fold the corners carefully.
It is hard to explain how I folded the corners. Kindof like a present. Pinch one side together...
Fold it up at a 90 degree angle - and the back side will fold the same way.
Trim the fabric edge right at the edge of the jean as seen below. You will have enough fabric remaining from the strip used to sew the sides and bottom to also sew it along the top and pocket. If you don't, use some of the fabric from the really long strip.
Sew along the top of the pocket - catching all the fabric to close it off.
Tuck the edges under, and sew along the three sides - do NOT sew along the top, so that it remains a working pocket.
With the really long strip, start by sewing the ends closed. Turn the end inside out, sew it up.
Turn it right side out, (now the raw edge is sewed in) and sew up the short edge again.
Now, take the long strip, find the center and put a pin in it. Then, decide how long you want the neck loop to be. I made mine about 14", which was great. From the center pin, I measured down 7" on each side, and placed a pin.
The pins now reference where you should start sewing along the curved edge.
Make sure you sew along the neck loop and along the long tie strips to sew the open edge closed.
The apron is done at this point! Really fairly easy - very rewarding - and not too big of a time commitment.
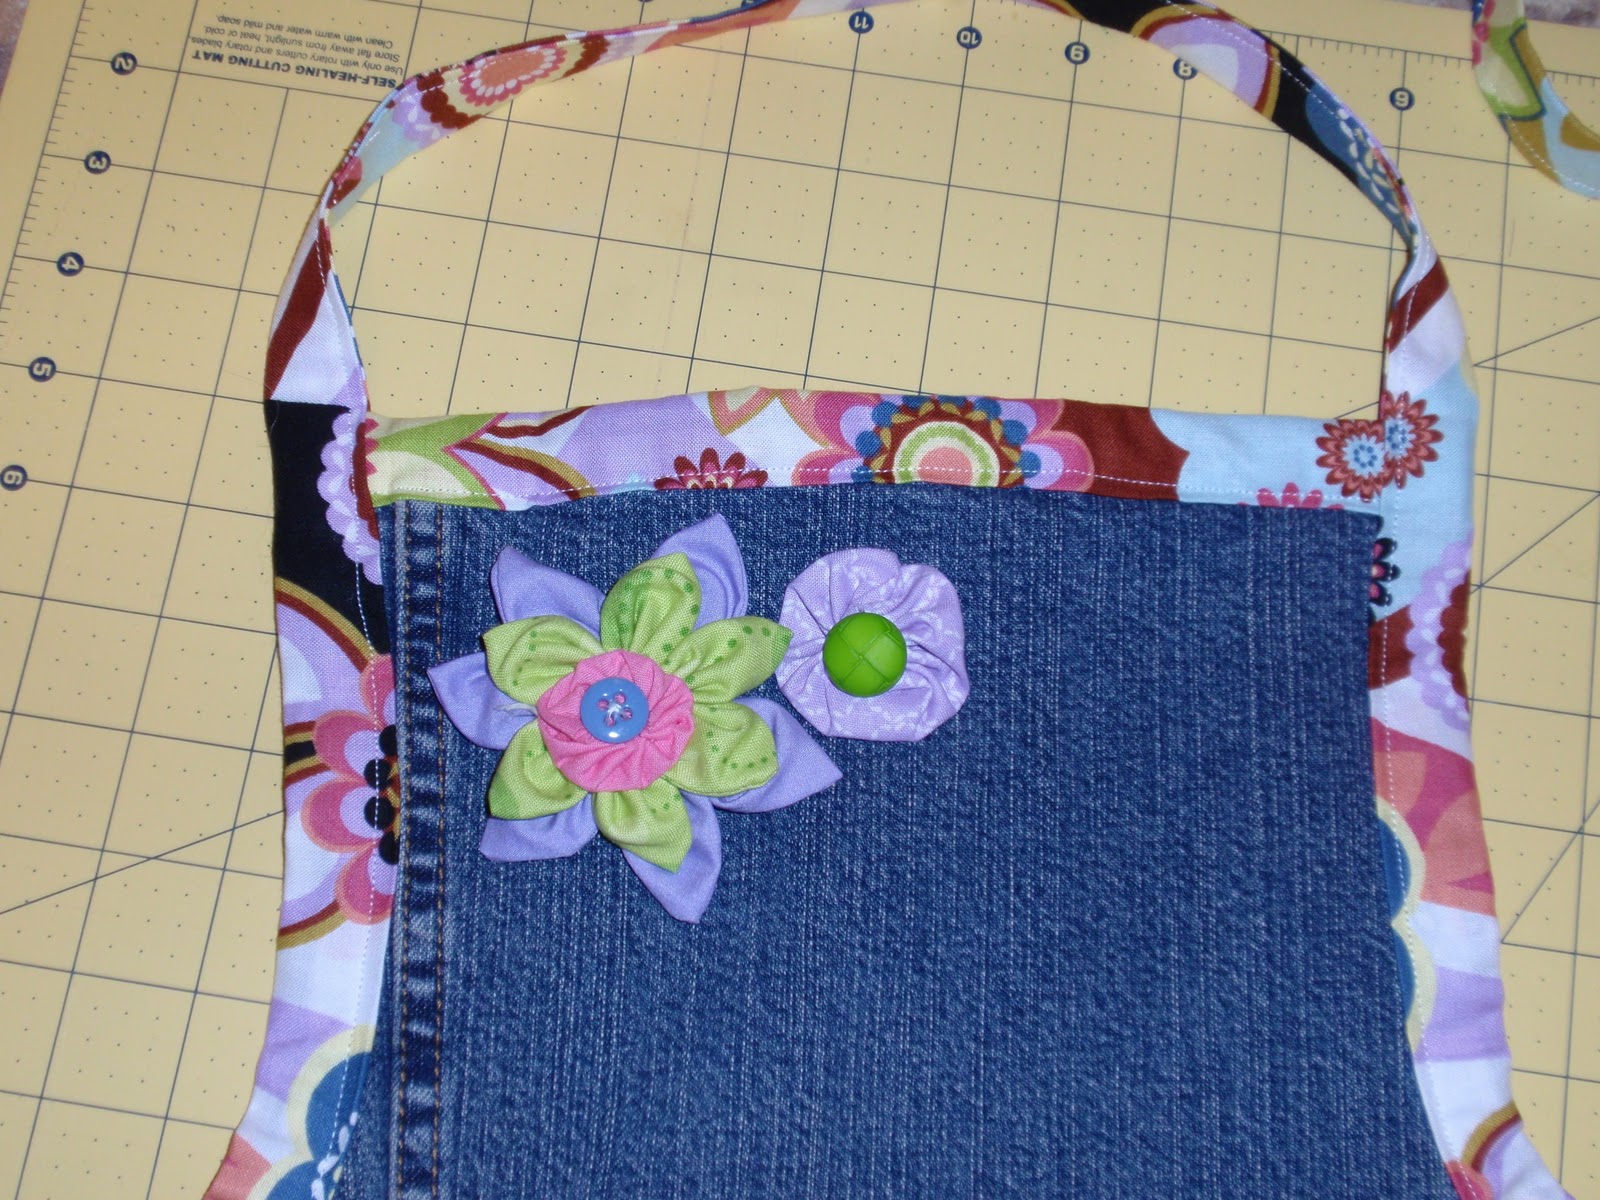
I wanted to fancy mine up a bit, so I added a couple of flowers.
Here is a great tutorial for the kind I made!
I sewed them right onto the apron.
My sweet model is smaller than the girls I am giving these aprons to. The aprons I made are a bit too small for an adult (but obviously too big for a toddler). They measure about 27" in length and 16-17" in width.
I love them!
I'm linking up to:


f.jpg)

I am an apron lover and I am really lovin' this one!! Great tutorial.
ReplyDeleteLindsay!Thank you so much for the link! I was so pleased to receive your comment Thank you!
ReplyDeleteCute project...I love your blog, so glad I came across it! :)
ReplyDeleteLove how this turned out! Can't beat cute projects from materials you already have on hand.
ReplyDeleteSo cute! I love the colors on the trim and the flowers. Recycling is the best!
ReplyDeleteI featured you over at Sassy Sites Trash to Treasure TUESDAY! Come by and check it out... don't forget to grab a featured button! :) Great job on the transformation!
ReplyDelete-marni @ Sassy Sites! xoxo
I love the fabric you used! I have several pairs ready to be repurposed, will bookmark this post. Thank you!
ReplyDelete~Kimberlee
www.TheSpunkyDiva.com
Great! Thanks!
ReplyDeleteGaileee at love2sew4fun.blogspot.com
This comment has been removed by the author.
ReplyDelete