Pages

April 27, 2010

Easy Fabric Book Cover

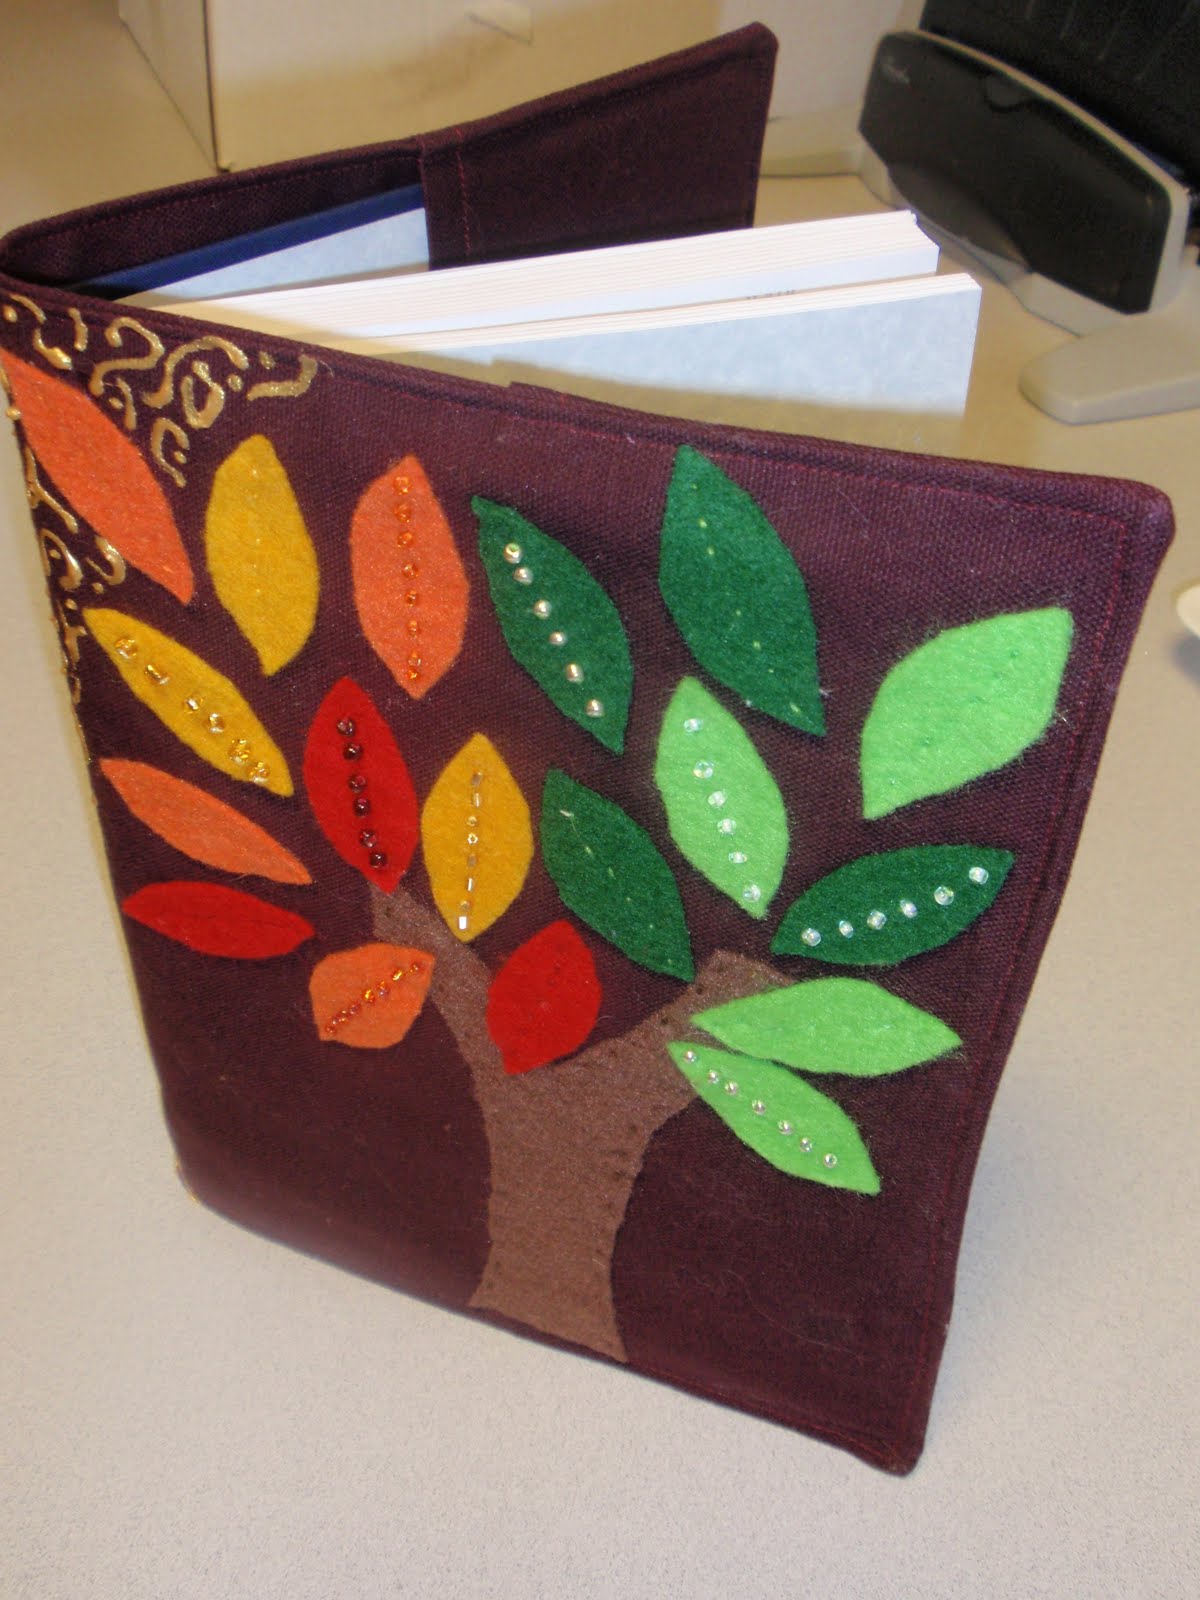
I made these covers out of a kind of fabric called "duck cloth".  It is very thick - like canvas - because these covers get decorated by parents as a surprise for their children.  So, we use thick solid colored fabric to make it easy to glue onto.  Below is a picture of one of the parent's decorations:


These would also work great with cotton fabric!

1) Start by measuring the height of the book, and the width of the book.  The width should including both covers and the spine. 


2) Your seam allowance will partially depend on how thick your fabric is.  My really thick fabric needed a 1.5" seam allowance on the width, and a 1" seam allowance on the height.  My very first try made the whole thing just barely too short, and that was frustrating.  I had only given myself 1 inch or for a seam allowance on the width. 

3)  Cut two pieces of fabric to the width x height + seam allowance dimensions. 
Then, for the pockets, cut two pieces of fabric to the same height, but only 1/2 the width of one cover. 
The picture below shows one of each of these pieces cut. 

4) Fold one long edge of each pocket under by 1/4" and sew, to remove the raw edge.


 5) Lay out your fabric by laying out one large piece, right side up.  On top of that, lay your two pocket pieces, right side up, on the far left and far right edges. 


 6) Lay your final large piece on top of that, wrong side up (so right sides are together).  Then pin around all the edges. 
 7).  Sew all the way around, with 1/4" seam allowance, leaving a 3" opening at the bottom middle to turn it right side out.

8) Turn the cover right side out.  Iron it flat - making sure the opening is tucked in. (in my picture, mine is not ironed:)  )


9)  Sew around the entire cover, an 1/8" from the edge.   
That's it!  You are done.  Slip the book into the pockets. 


image signature

April 21, 2010

Earphone Pouch - Bag without Raw Seams!

I wanted a little pouch for my ipod earphones, so that when I kept them in my purse they wouldnt get dirty or tangled. 
I have also used this concept to make larger bags for guinea pigs - so that they don't snag their toes on raw edges.  In that case, the inside fabric is fleece to keep them warm. 

I decided I wanted a bag with no seams, and it was a little complicated - so here is the tutorial:

1.  Cut 4 pieces of fabric - 2 for the outside of the bag, and 2 for the inside.  They can be all the same color, or complementing colors.  I made mine 4" x 5" for a very small pouch.  This concept would work for bigger bags as well.  For instance, my guinea pig bags were 11" wide and 13" tall when finished.


2.  Place the 2 squares of the same color right sides together.  For the fabric that will be the outside of the bag, sew along 3 sides, leaving the top open.
For the fabric that will be the inside of the bag, sew along 3 sides, but leave a 2+ inch hole in the bottom (for turning it right side out eventually) and leave the top open.  See photo below:
3.  Turn the fabric being used for the inside of the bag right side out.  Then, put it inside the other bag.  See photos:

4.  Sew around the top of the bag, so that the 2 bags are stitched together all along the top edge. 

5.  Pull out the inner bag.

6.  Pull the entire thing through the hole.  Fabric will then become right side out.  Then, stitch the hole shut, either with your sewing maching, or whip stitch by hand. 

7.  Push the inner bag into the outer bag. 


8. Fold down the top edge (if desired) and sew around it.


9. Add sew on velcro.

Finished!


image signature

I'm linking up to:

April 19, 2010

Flower Clock #2

I had fun making the first flower clock, so I decided to fancy up another clock, just in a little different way.
I made fabric flowers by winding strips of torn fabric into circles.  The tutorial I used for winding the flowers can be found here.
Then, I sewed through them a couple times to hold them together. 

I then glued them to the back of a clock that was see through.
Now my clock has a fun fabric background instead of showing through to the blank wall:)


image signature

April 17, 2010

Mod Podge Clock with Fabric and Flowers

I found this blog post, and immediately fell in love!  I was in the middle of doing some major cleaning of the house (well, okay...I was taking a quick break) and thought - wow!  I have everything I need to do this...right now!  It didnt take long, and I instantly made my living room cuter.
Here is a before-ish picture:

I mod podged the clock frame, put down my fabric, and mod podged some more.  My edges are very bumpy (around the outside), because you can't easily lay fabric flat around a circle.  I can't tell in this lady's post if her edges are bumpy, but I think it adds to the charm. 

I sewed strips of coordinating fabric together to make my flowers have more color.  I also tore my strips of fabric, instead of cutting them, so that as I wound and twirled them into flowers, if the edges showed they were cute and frayed.  The tutorial I used for the flowers can be found here
 Quick, fun...now back to cleaning:)

image signature

April 12, 2010

Vinyl/Oilcloth Re-usable Lunch Bag

I was using brown paper bags for my lunch, and wanted something small but reusable.  So I found this tutorial, and adjusted it to my needs.
I didn't want to buy oilcloth online, and couldnt find any local stores that sold it.  However, I found a local craft store that had what they called "oilcloth" but which was really vinyl with a cotton backing - something you would traditionally use to make a picnic tablecloth. 
I used this, and it actually works great because it is slightly insulated now. 
I just sewed 2 pieces, wrong sides together, first - so that the inside and outside of the bag would show the pattern/right side of the vinyl fabric, hiding the cotton underside.
I also added velcro to hold it closed.  One set to hold it shut at the top, and another set to keep it folded down.
I have been using it for many months and love it!  I can wipe it out if something spills on the inside, and I feel good about doing something "green":)

image signature

April 11, 2010

Flower Headband for Adults!


After making a few of these felt flower bows for my daughter, I decided to try the white one on myself.
I like it, because it is not too bright.  Bright works on my kids, but for me, I like the subtlety of the white bow.
Here are some pictures of the snap sewn onto the headband.  I got a stack of headbands at Target for a couple bucks.


image signature

April 8, 2010

Photo Memory Board - Round 2 - Refrigerator Board!

I liked the way that my big memory board turned out, but I am giving it away as a gift.  It will hang in my friend's office at work, so I know she has room for it, but as I started thinking about my own little house, I couldn't imagine where I would hang such a big board.
That is when I thought about making one with magnets for my refrigerator!
This time, I used a small piece of foam board. 

It is very light weight, so that the magnets have no trouble holding up.  I made mine 13" x 11".
I cut a doubled up piece of batting to the same size, and a piece of fabric a few inches wider and taller.

 I was able to use a stapler, and pulled the fabric tight around the back, stapling it down, and folding the edges like a present.
I used my formula for figuring out where to place the ribbons, and stapled those down as well.
Finally, I glued 5 super strong rare earth magnets to the back.  I have a link on my home page to the place I purchased them from. 
Now, I have a fun, cute way to display photos, and I dont have to take up more wall space!


image signature